How to Build a Client Intake Form
Intake forms are a critical part of the client onboarding process. At the most basic level, we need to ensure that the correct information is gathered at the outset of new projects.
Even more importantly though, we need to gather and store data in such a way that we can use it within follow-on workflows, without compromising security.
Today, we’re going to see how Budibase empowers teams to build advanced forms on top of just about any data source.
Specifically, we’re going to build a fully custom, multi-step client intake form. Even better, we’ll have a working UI in just a few minutes.
But before we begin…
What is a client intake form?
A client intake form is a simple self-service tool where new clients can input their key data. For instance, contact information, basic company details, and any other information we might need before we can kick off a project.
This can then be leveraged by a wide range of internal teams, including finance, client services, support, legal, operations, and more.
When we’re talking about any form tool, we also need to consider how we’re processing and storing submission data.
In the case of a client intake form, we have two priorities here. First, we need to ensure that client data is kept secure. Second, our data must be easily utilized by colleagues within relevant internal processes.
So…
What are we building?
We’re building a multi-step client intake form on top of an existing MySQL database. So, we’ll be using Budibase to build our UI, although it won’t actually store our form data. Rather, it will simply act as a proxy to query our external database.
The beauty of our open-source, low-code platform is its market-leading support for external data sources.
Most traditional form builders heavily push us toward their internal databases - which in turn offer very little flexibility. Generally speaking, these won’t allow us to build forms that directly query external databases.
By contrast, Budibase offers dedicated connectors for a whole host of relational and non-relational databases, along with REST APIs, Google Sheets, Airtable, and even custom data soruces.
On top of this, our internal database offers unrivaled flexibility in the form-builder space, with support for optional JavaScript, relationships between tables, file attachments, and more.
How to build a client intake form in 4 steps
Let’s jump in! If you haven’t already, sign up for a free Budibase account to start building as many forms as you like.
1. Connecting to our database
The first thing we need to do is create a new Budibase application. Today, we’re going to start from scratch, but we also have the option of using a template or importing an existing app dump.
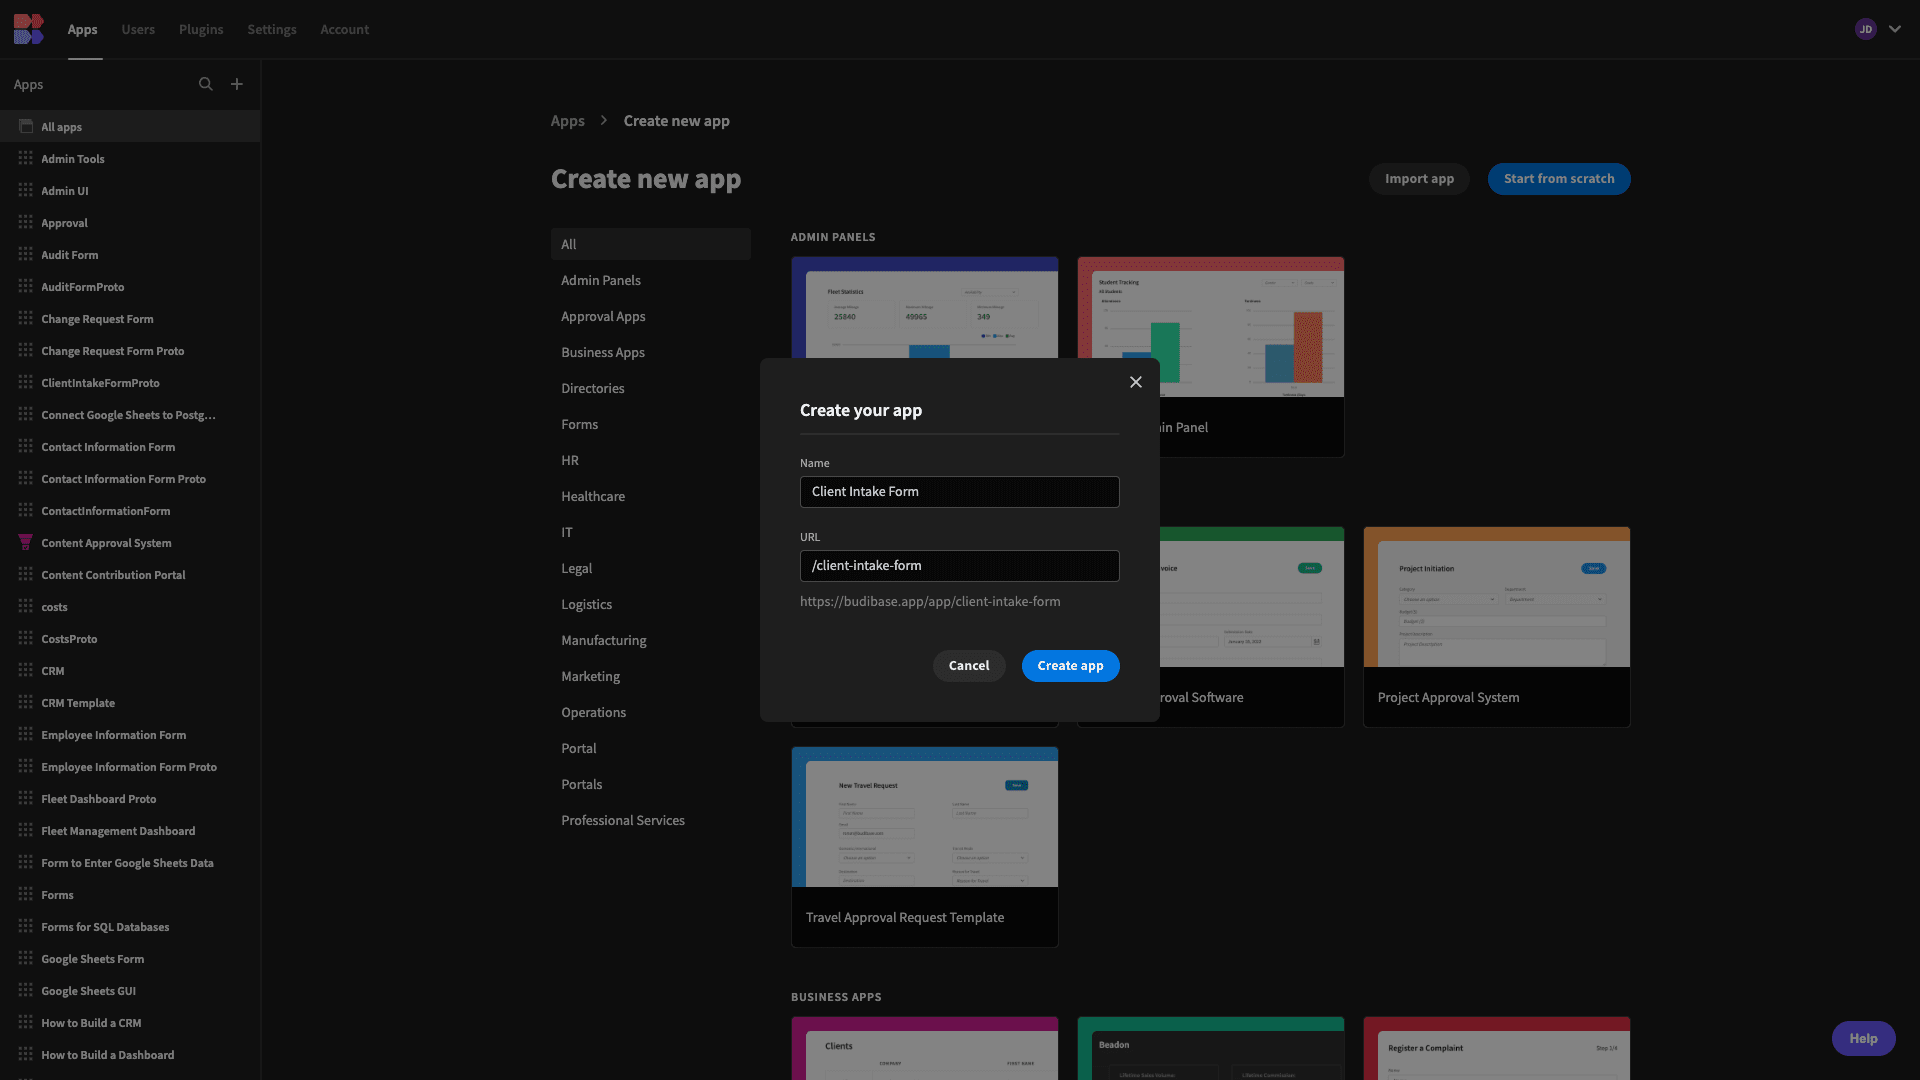
We’re then prompted to give our app a name. This is also used to generate a URL extension.
Next, we’re presented with a variety of options for connecting our new app to its first data source.
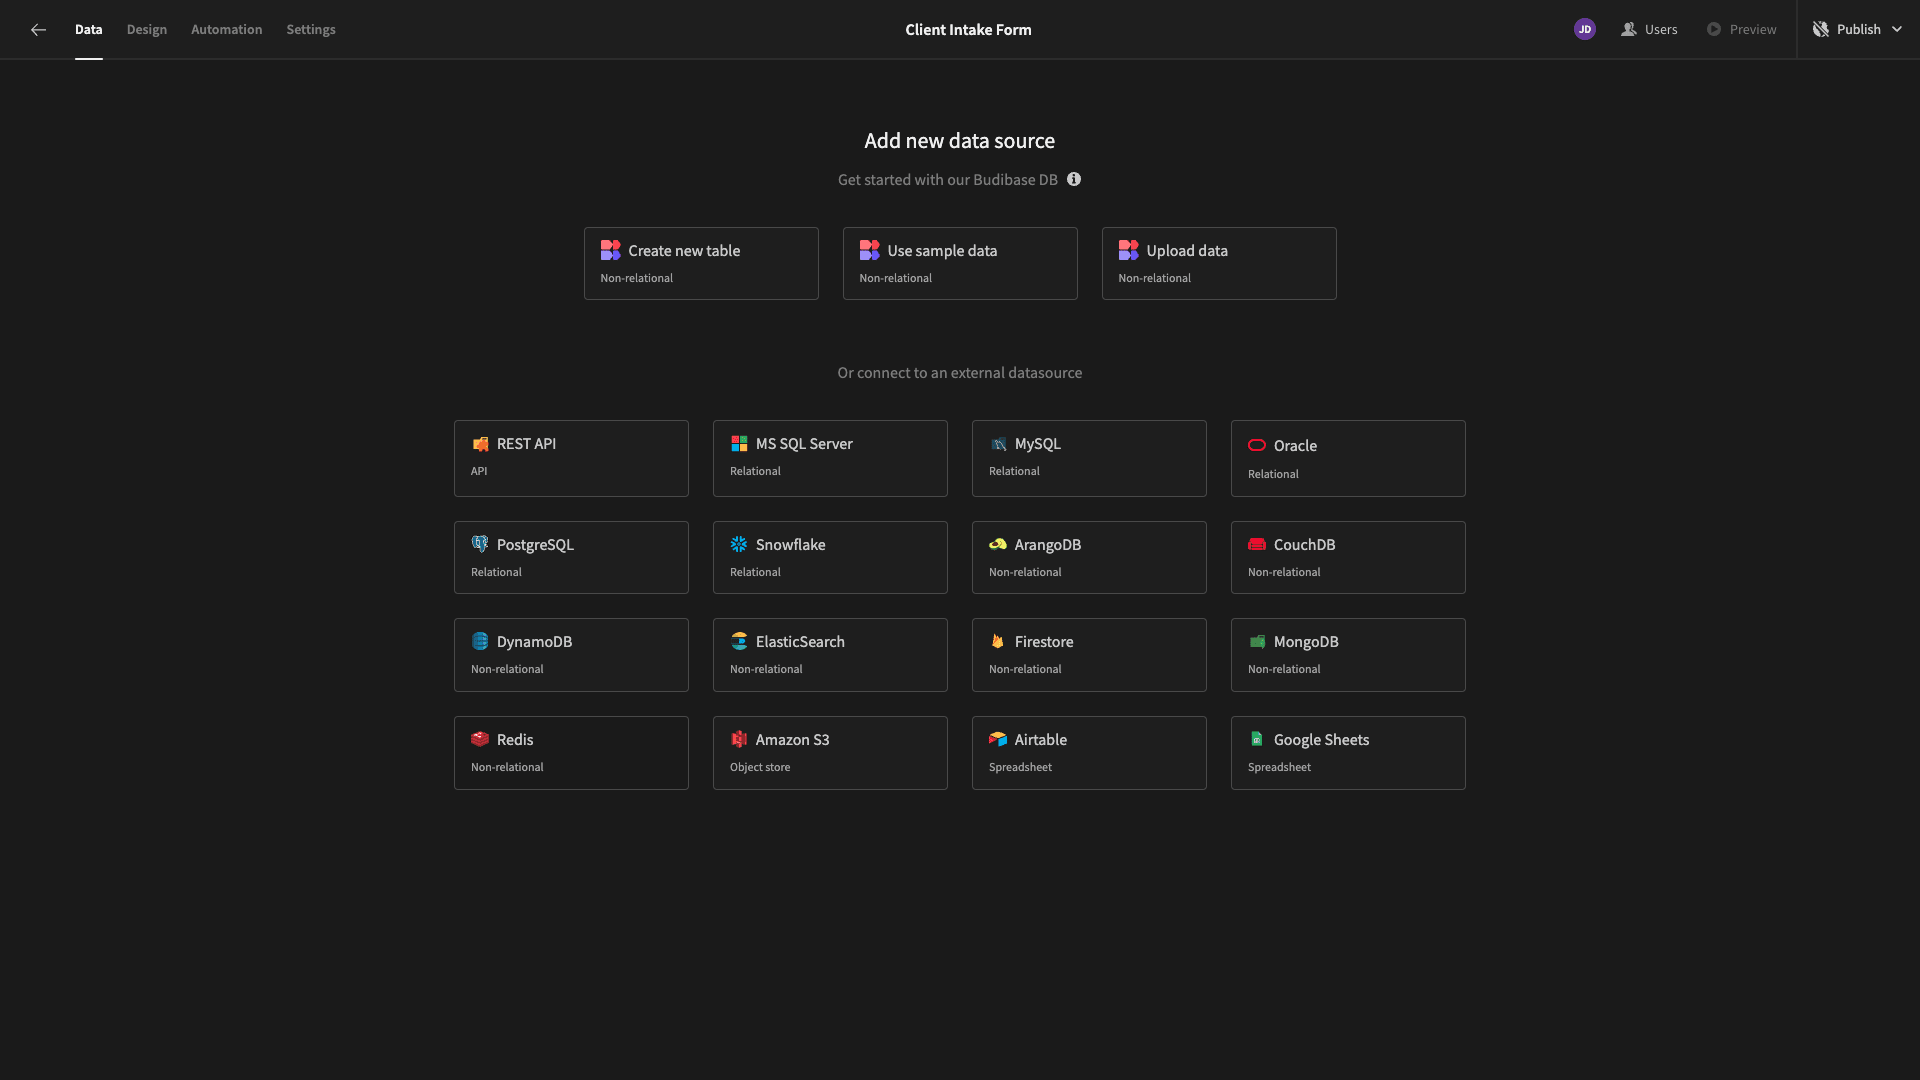
Again, we have the option of connecting to just about any type of data we need to - but today we’re choosing MySQL.
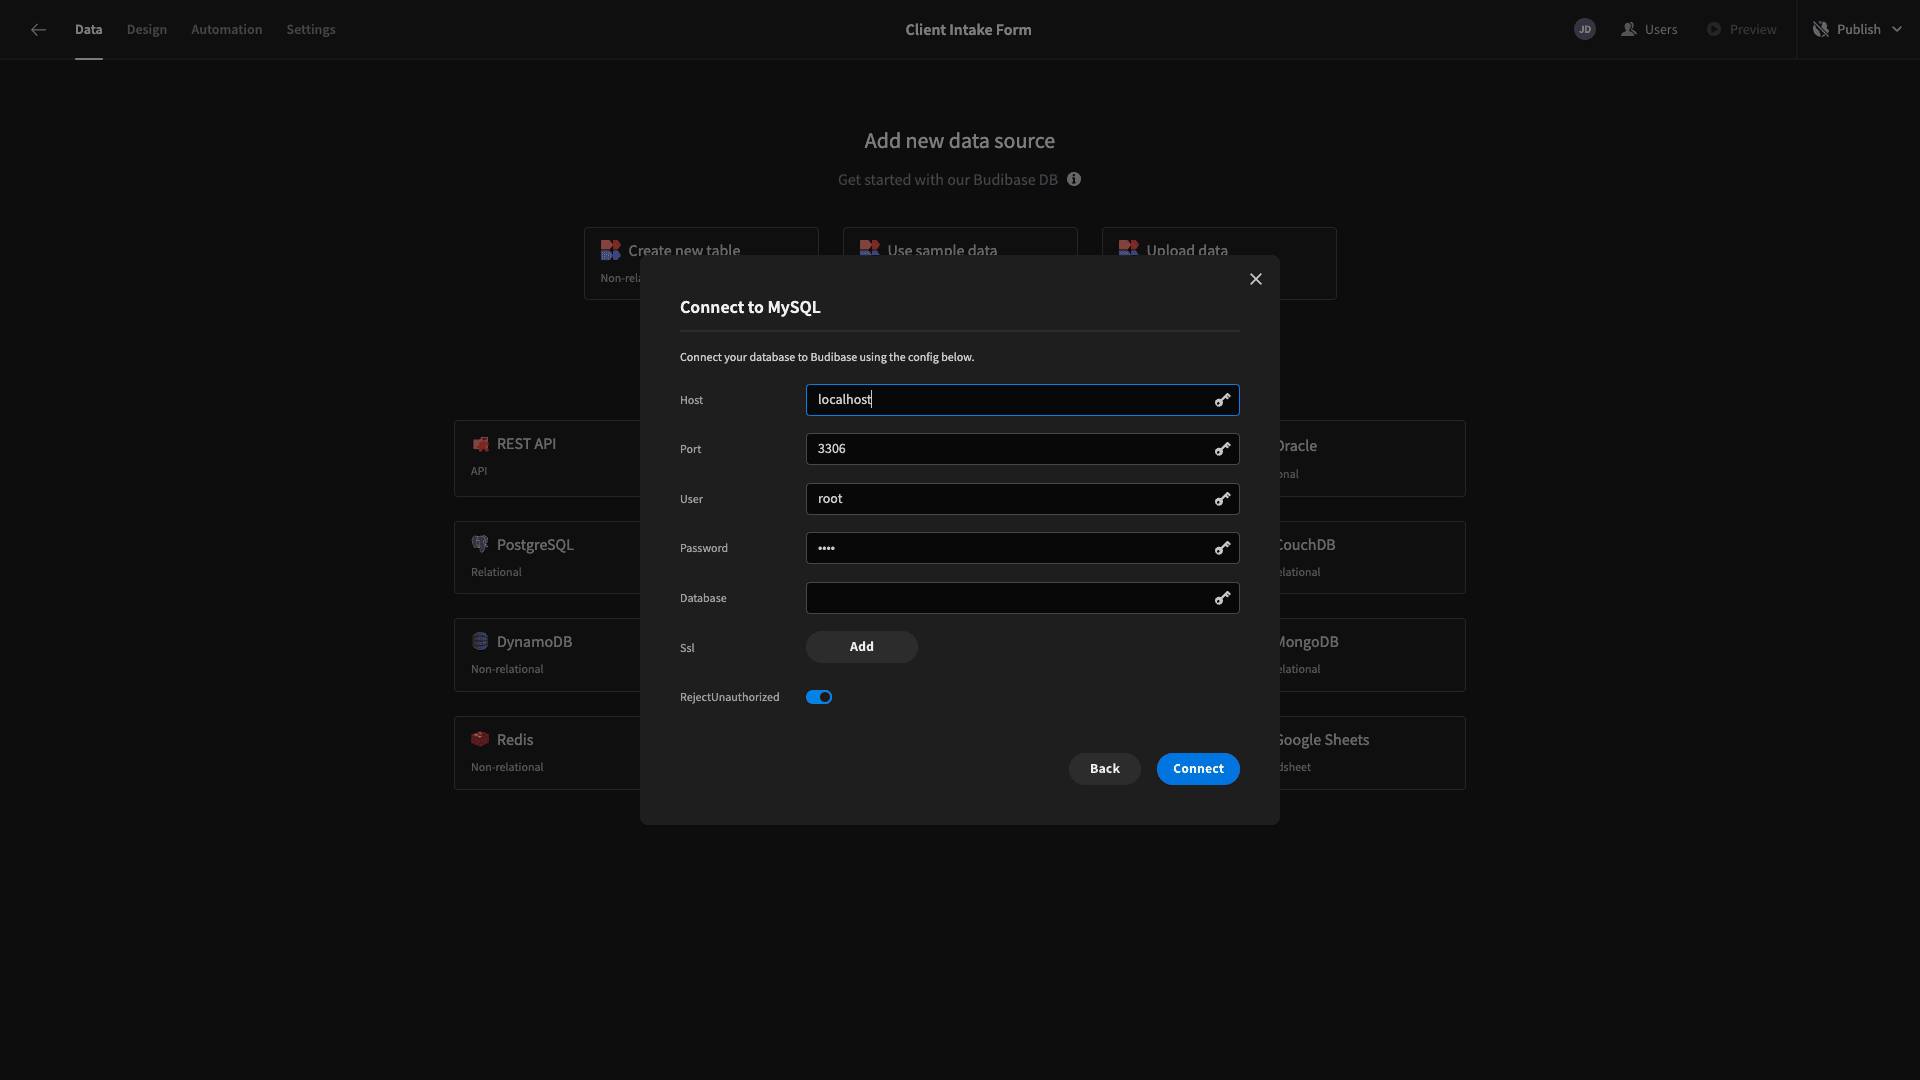
When we click on this option, we’re prompted to input our config details.
We have our database credentials stored in Budibase as secure environment variables, so we can use these to save time.
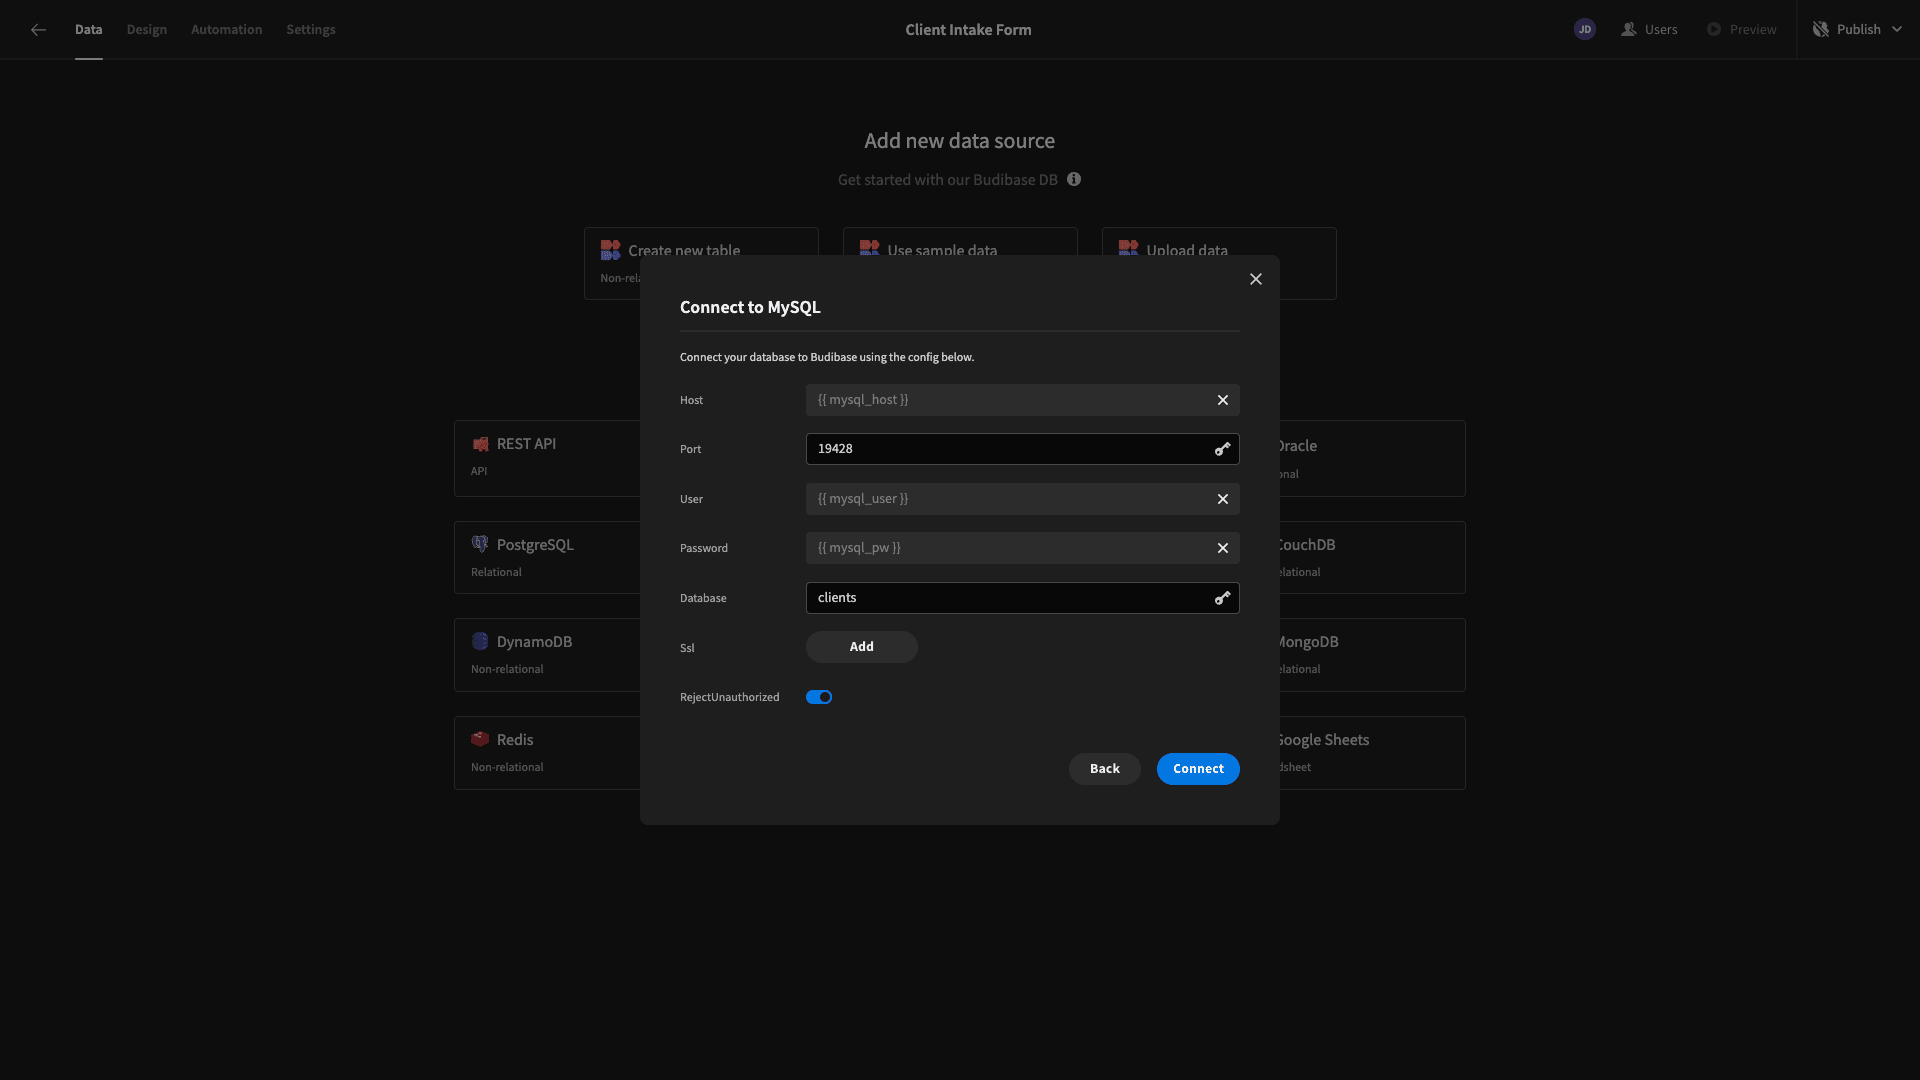
When we hit Connect, we can choose which tables we’d like to fetch - making them queryable within Budibase:
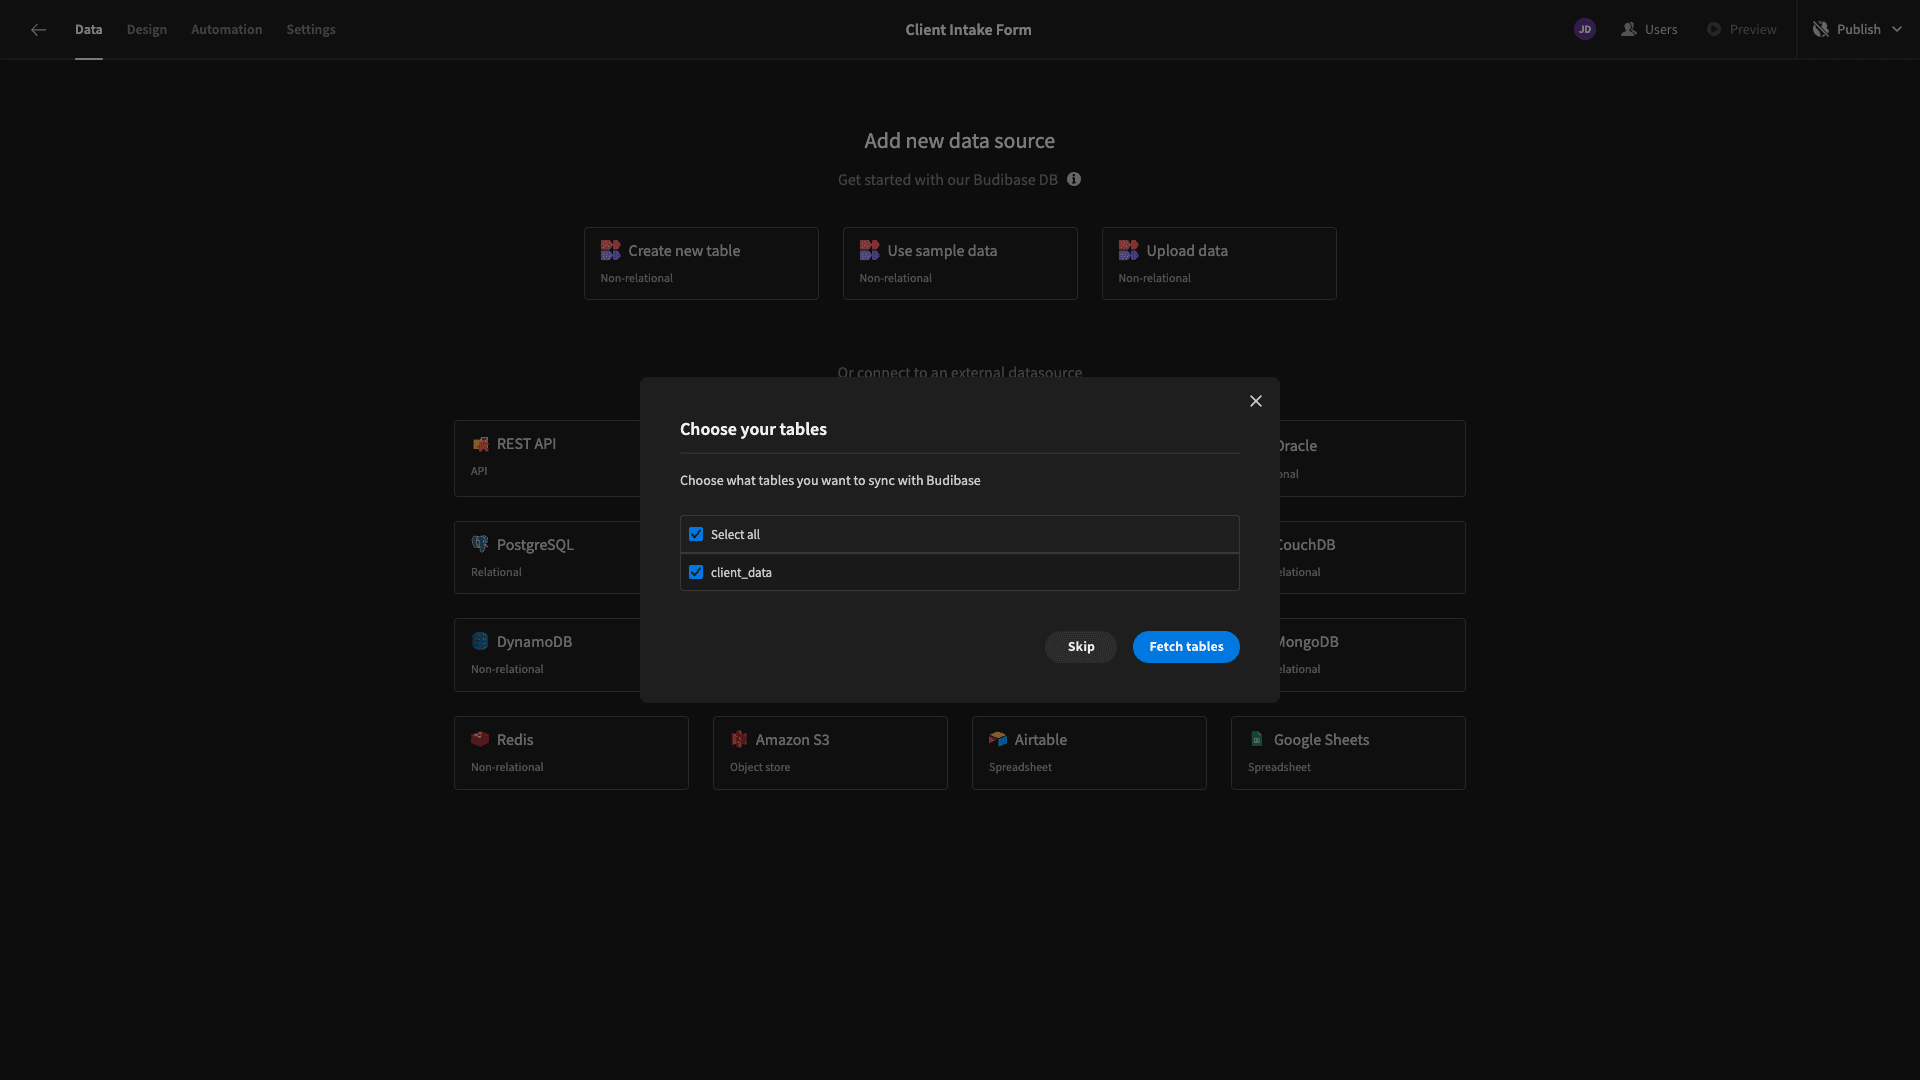
Our database only has a single table, so we’re fetching this. Once we’ve done this, we can edit the stored values or the schema of our table straight away:
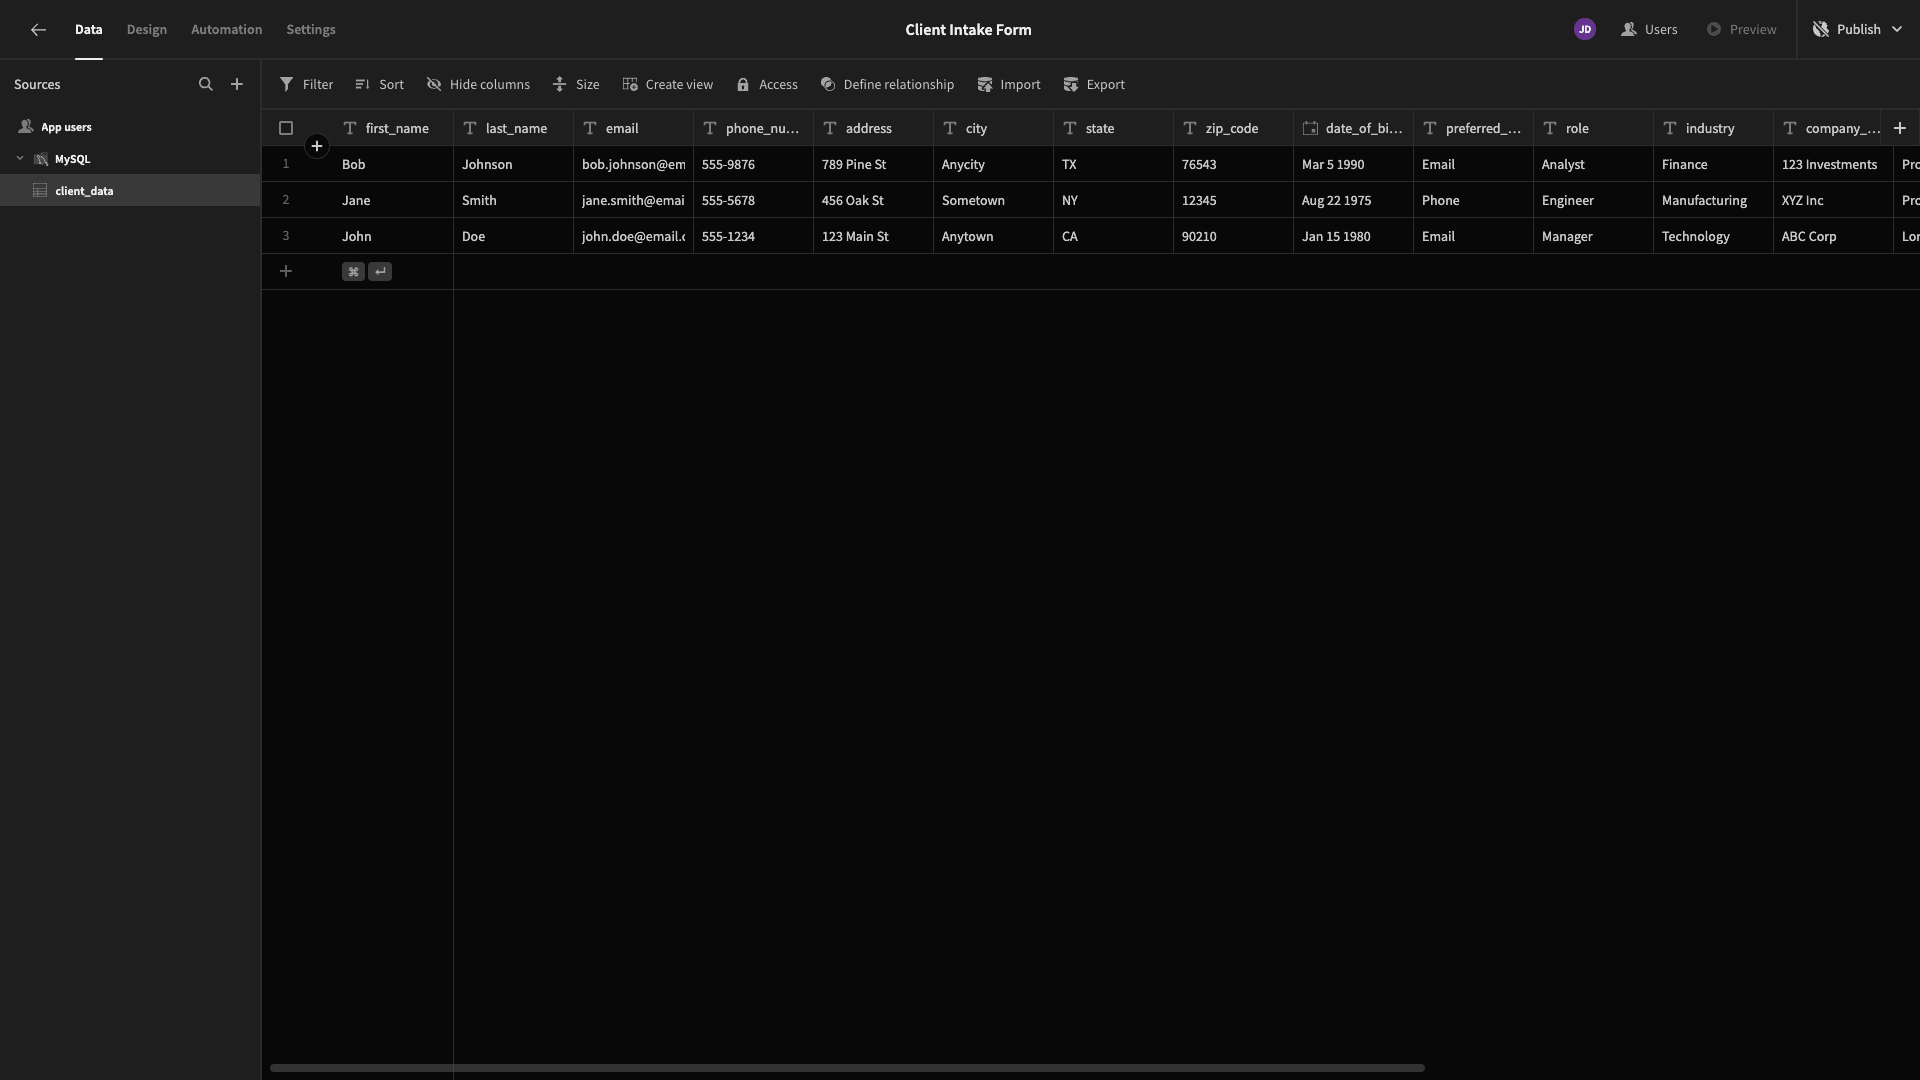
Here’s a query you can use to create a table just like ours:
 1CREATE TABLE client_data (
 2
 3  client_id INT AUTO_INCREMENT PRIMARY KEY,
 4
 5  first_name VARCHAR(50) NOT NULL,
 6
 7  last_name VARCHAR(50) NOT NULL,
 8
 9  email VARCHAR(100) NOT NULL,
10
11  phone_number VARCHAR(20) NOT NULL,
12
13  address VARCHAR(255) NOT NULL,
14
15  city VARCHAR(50) NOT NULL,
16
17  state VARCHAR(50) NOT NULL,
18
19  zip_code VARCHAR(20) NOT NULL,
20
21  date_of_birth DATE NOT NULL,
22
23  preferred_contact_method VARCHAR(20),
24
25  role VARCHAR(50) NOT NULL,
26
27  industry VARCHAR(50) NOT NULL,
28
29  company_name VARCHAR(100) NOT NULL,
30
31  project_overview TEXT NOT NULL,
32
33  additional_notes TEXT,
34
35  intake_timestamp TIMESTAMP DEFAULT CURRENT_TIMESTAMP
36
37);
And one to populate it with dummy data:
 1INSERT INTO client_data
 2
 3  (first_name, last_name, email, phone_number, address, city, state, zip_code, date_of_birth, preferred_contact_method, role, industry, company_name, project_overview, additional_notes)
 4
 5VALUES
 6
 7  ('John', 'Doe', 'john.doe@email.com', '555-1234', '123 Main St', 'Anytown', 'CA', '90210', '1980-01-15', 'Email', 'Manager', 'Technology', 'ABC Corp', 'Lorem ipsum project overview.', 'Additional notes for John Doe.'),
 8
 9  ('Jane', 'Smith', 'jane.smith@email.com', '555-5678', '456 Oak St', 'Sometown', 'NY', '12345', '1975-08-22', 'Phone', 'Engineer', 'Manufacturing', 'XYZ Inc', 'Project overview for Jane Smith.', 'Additional notes for Jane Smith.'),
10
11  ('Bob', 'Johnson', 'bob.johnson@email.com', '555-9876', '789 Pine St', 'Anycity', 'TX', '76543', '1990-03-05', 'Email', 'Analyst', 'Finance', '123 Investments', 'Project overview for Bob Johnson.', 'Additional notes for Bob Johnson.');
Our data model for this app is pretty basic. We can store key information about the company we’re working with, our primary contact point, and some longer form text on the project itself.
But, before we start building our UI, we’re going to make a few adjustments.
First, there are a couple of attributes that are currently stored as text variables, which we only want to present a fixed number of options for in our client intake form.
These are called industry and preferred_contact_method. We’ll edit each of these, setting its Type to Options - as well as inputting the choices we want to present to users.
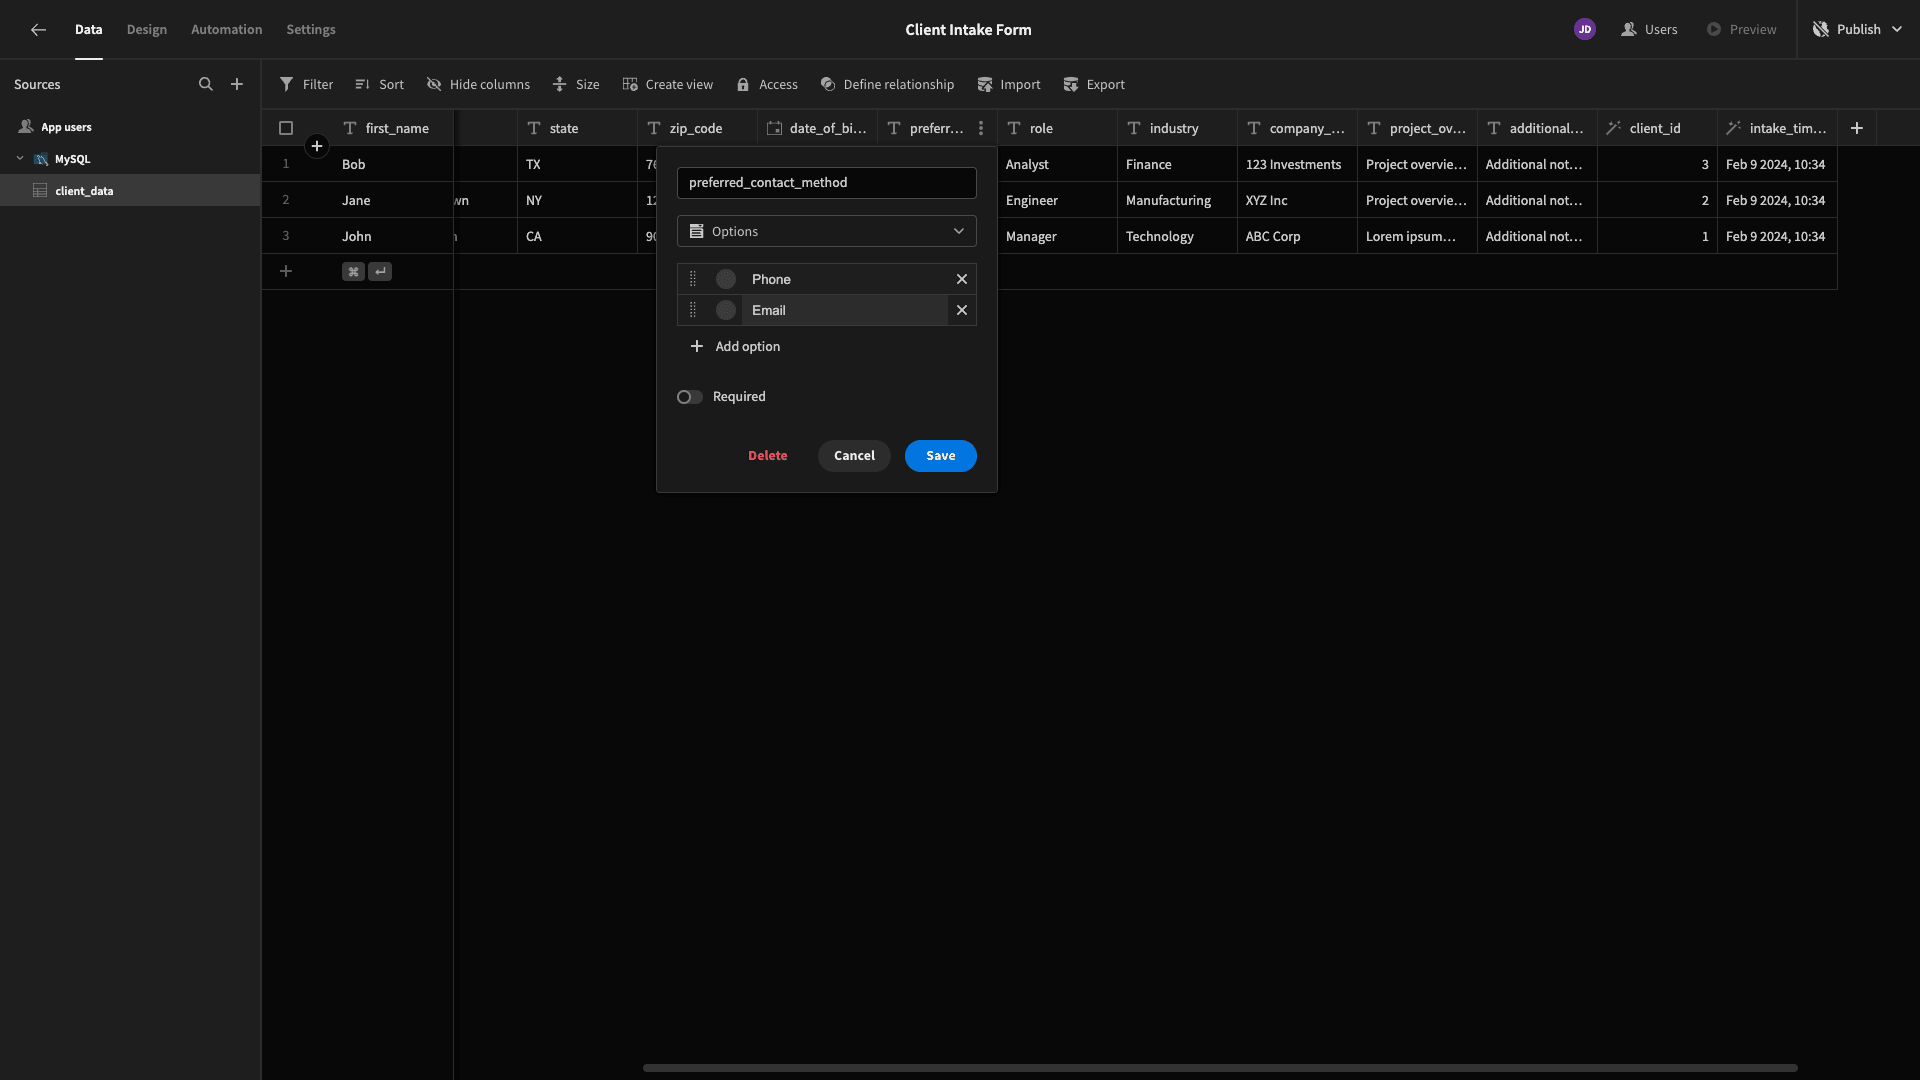
And we’ll repeat this step for the industry column.
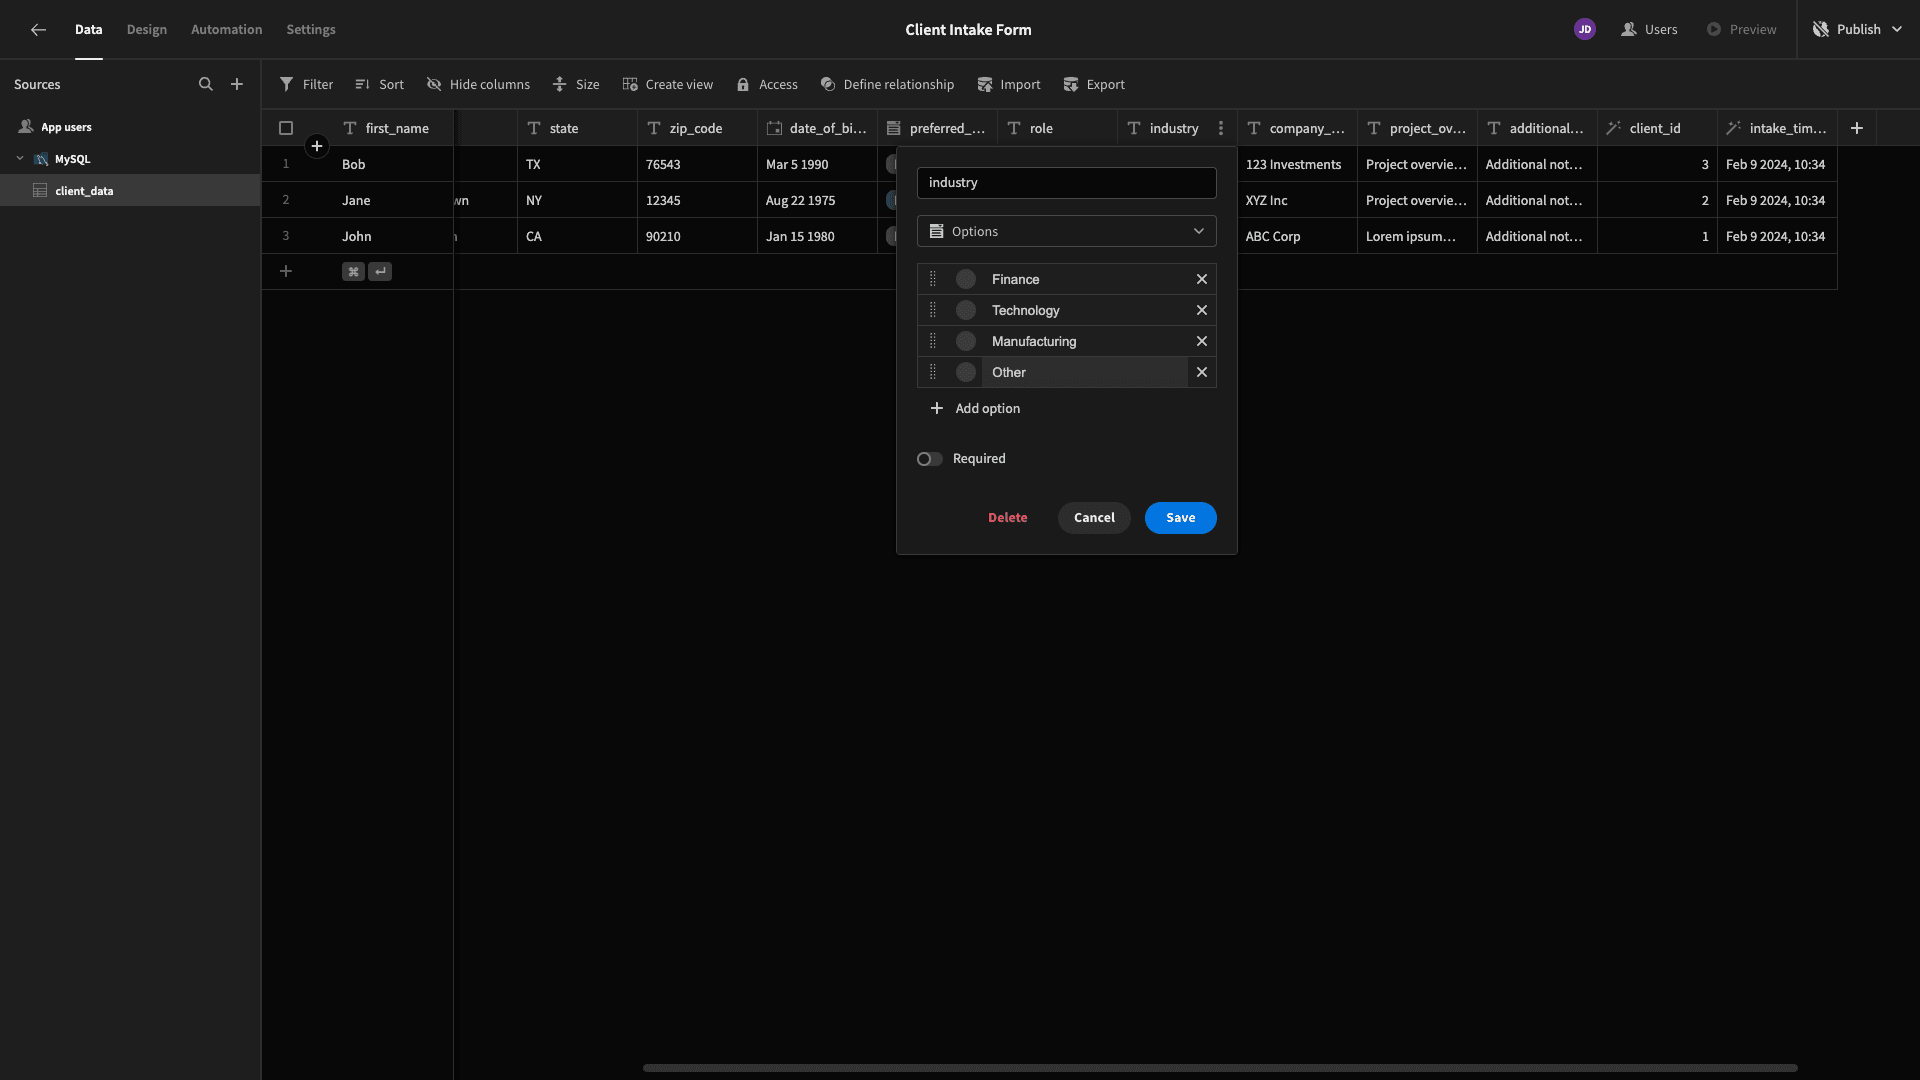
We also have two attributes called project_overview and other_notes that we’d like to change the Type of to Long-Form Text:
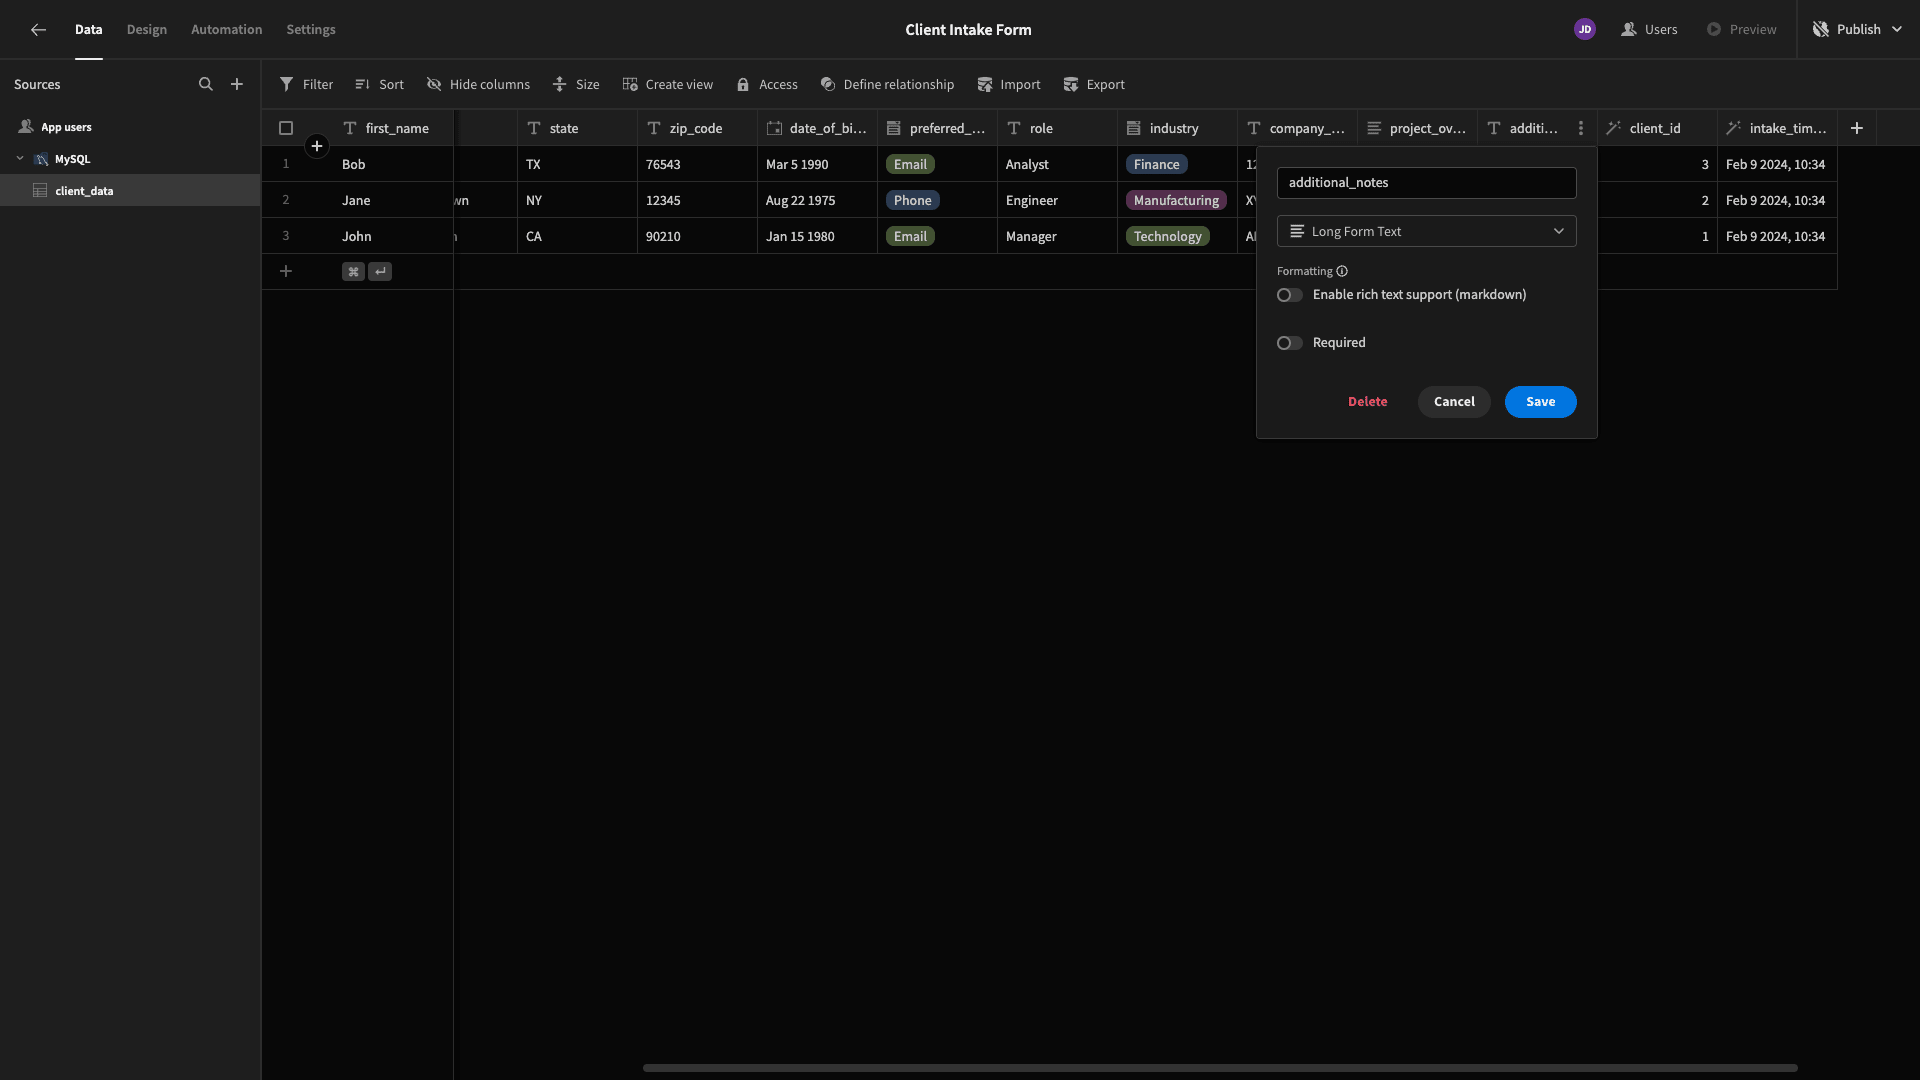
Once we’ve done this, we’re ready to start building our form UI.
2. Generate a multi-step form
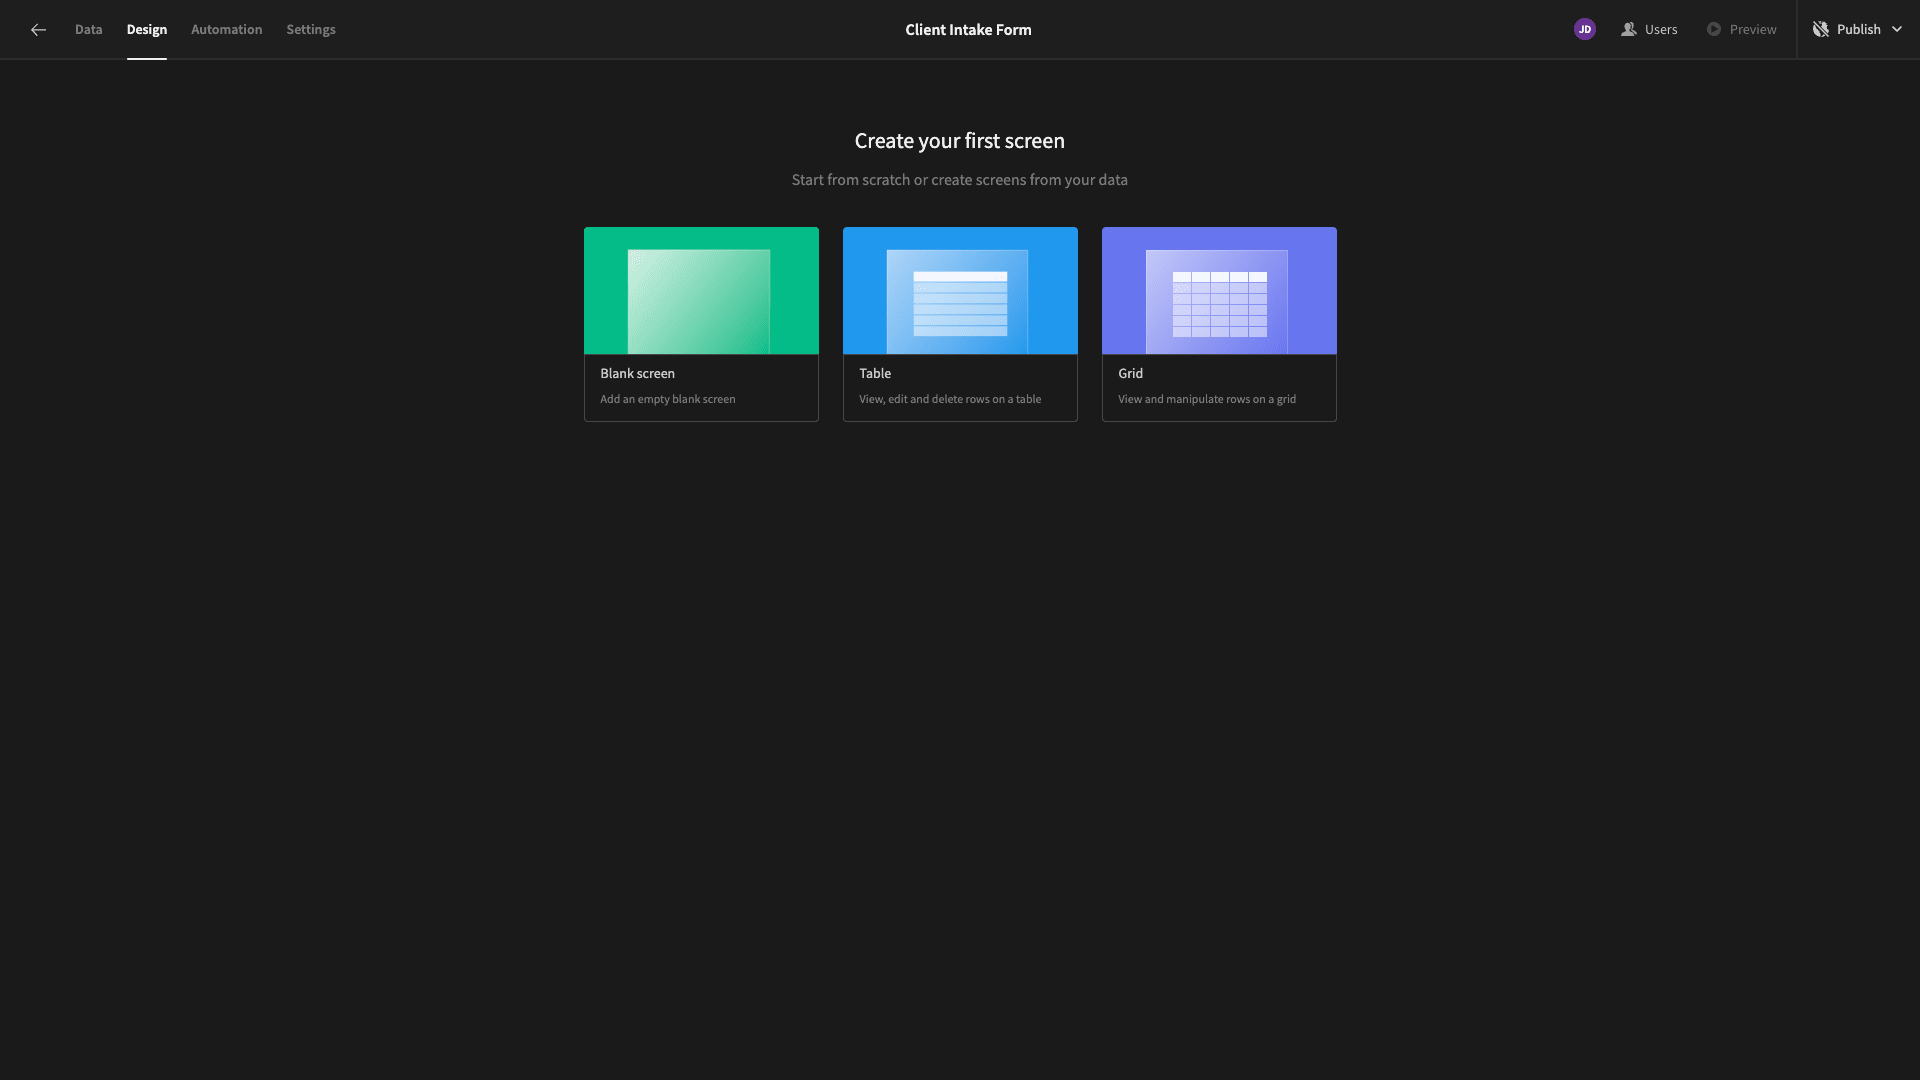
Head to the Design tab and we’ll be presented with a few options for adding our first screen. Budibase offers several pre-built layouts for app screens, but we’re starting from scratch:
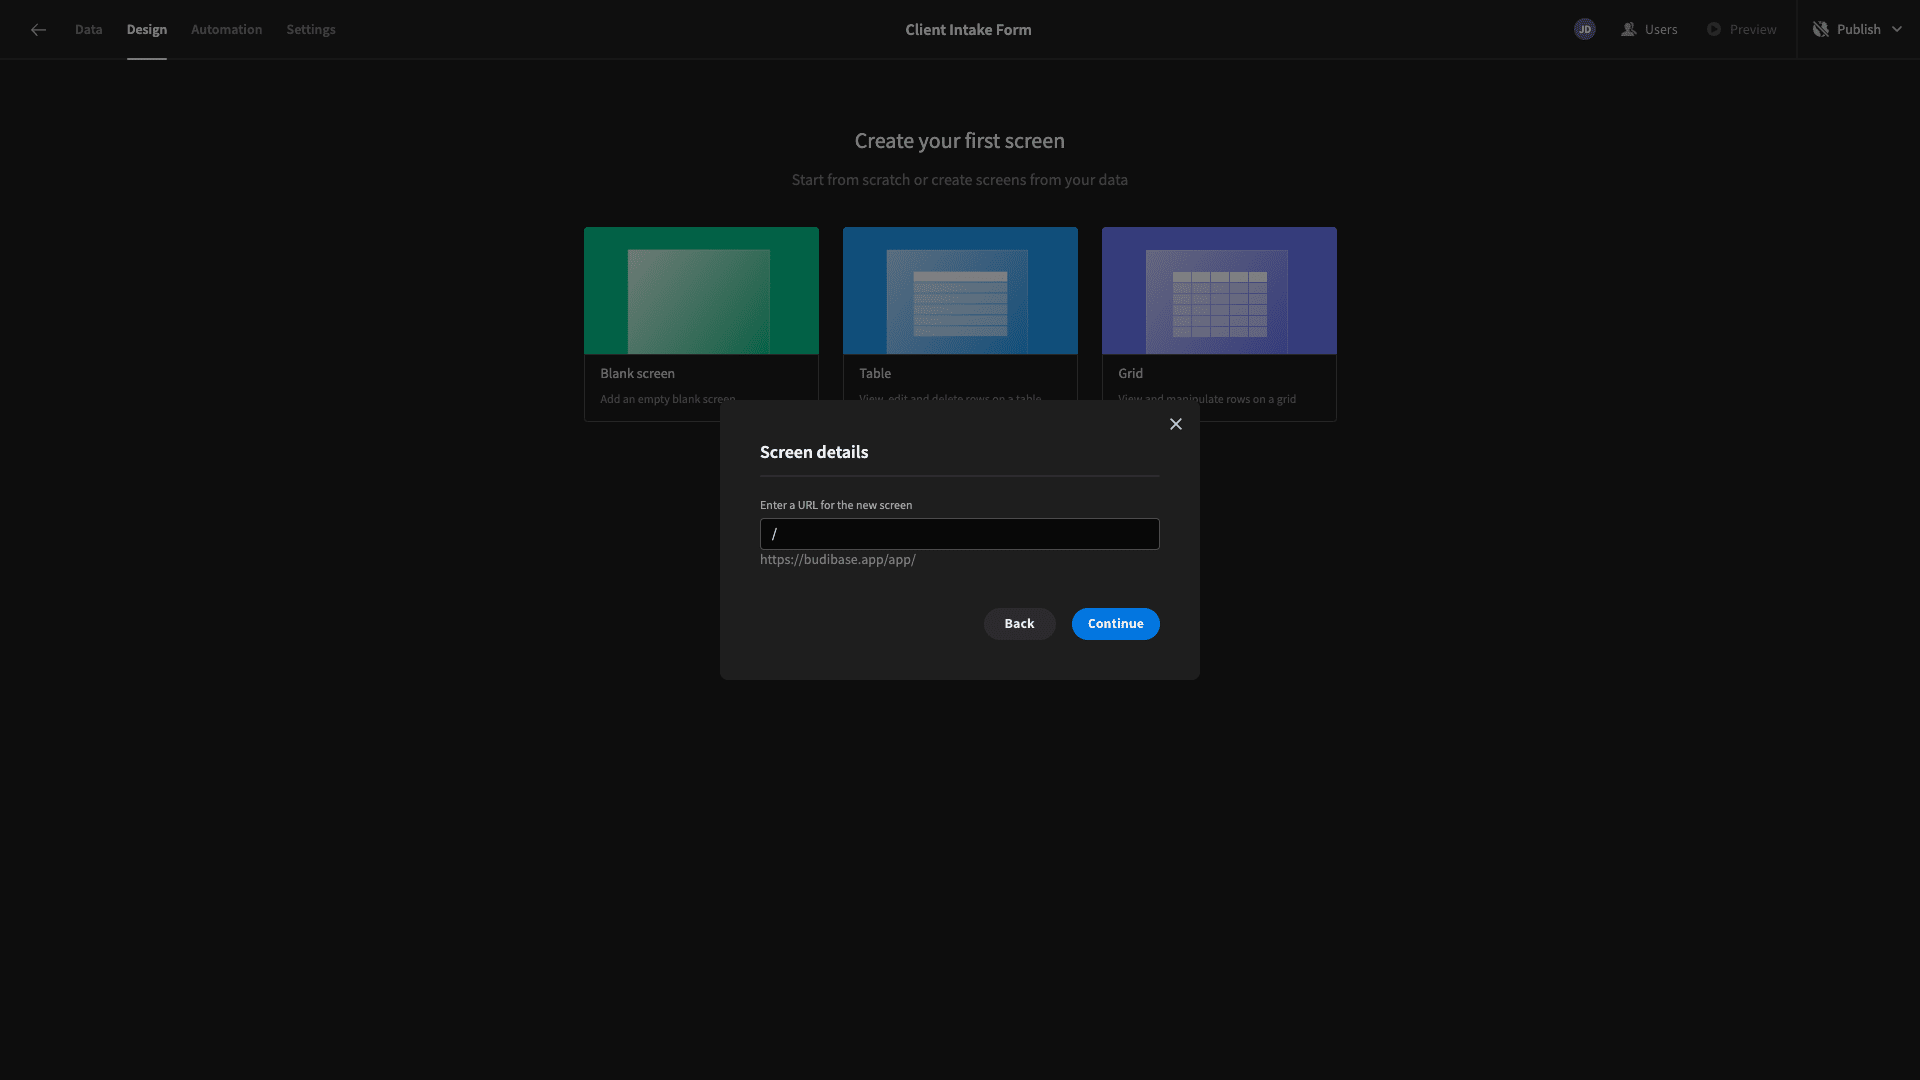
We’re then prompted to choose a URL slug. We’re building a single-screen app, so this can be anything:
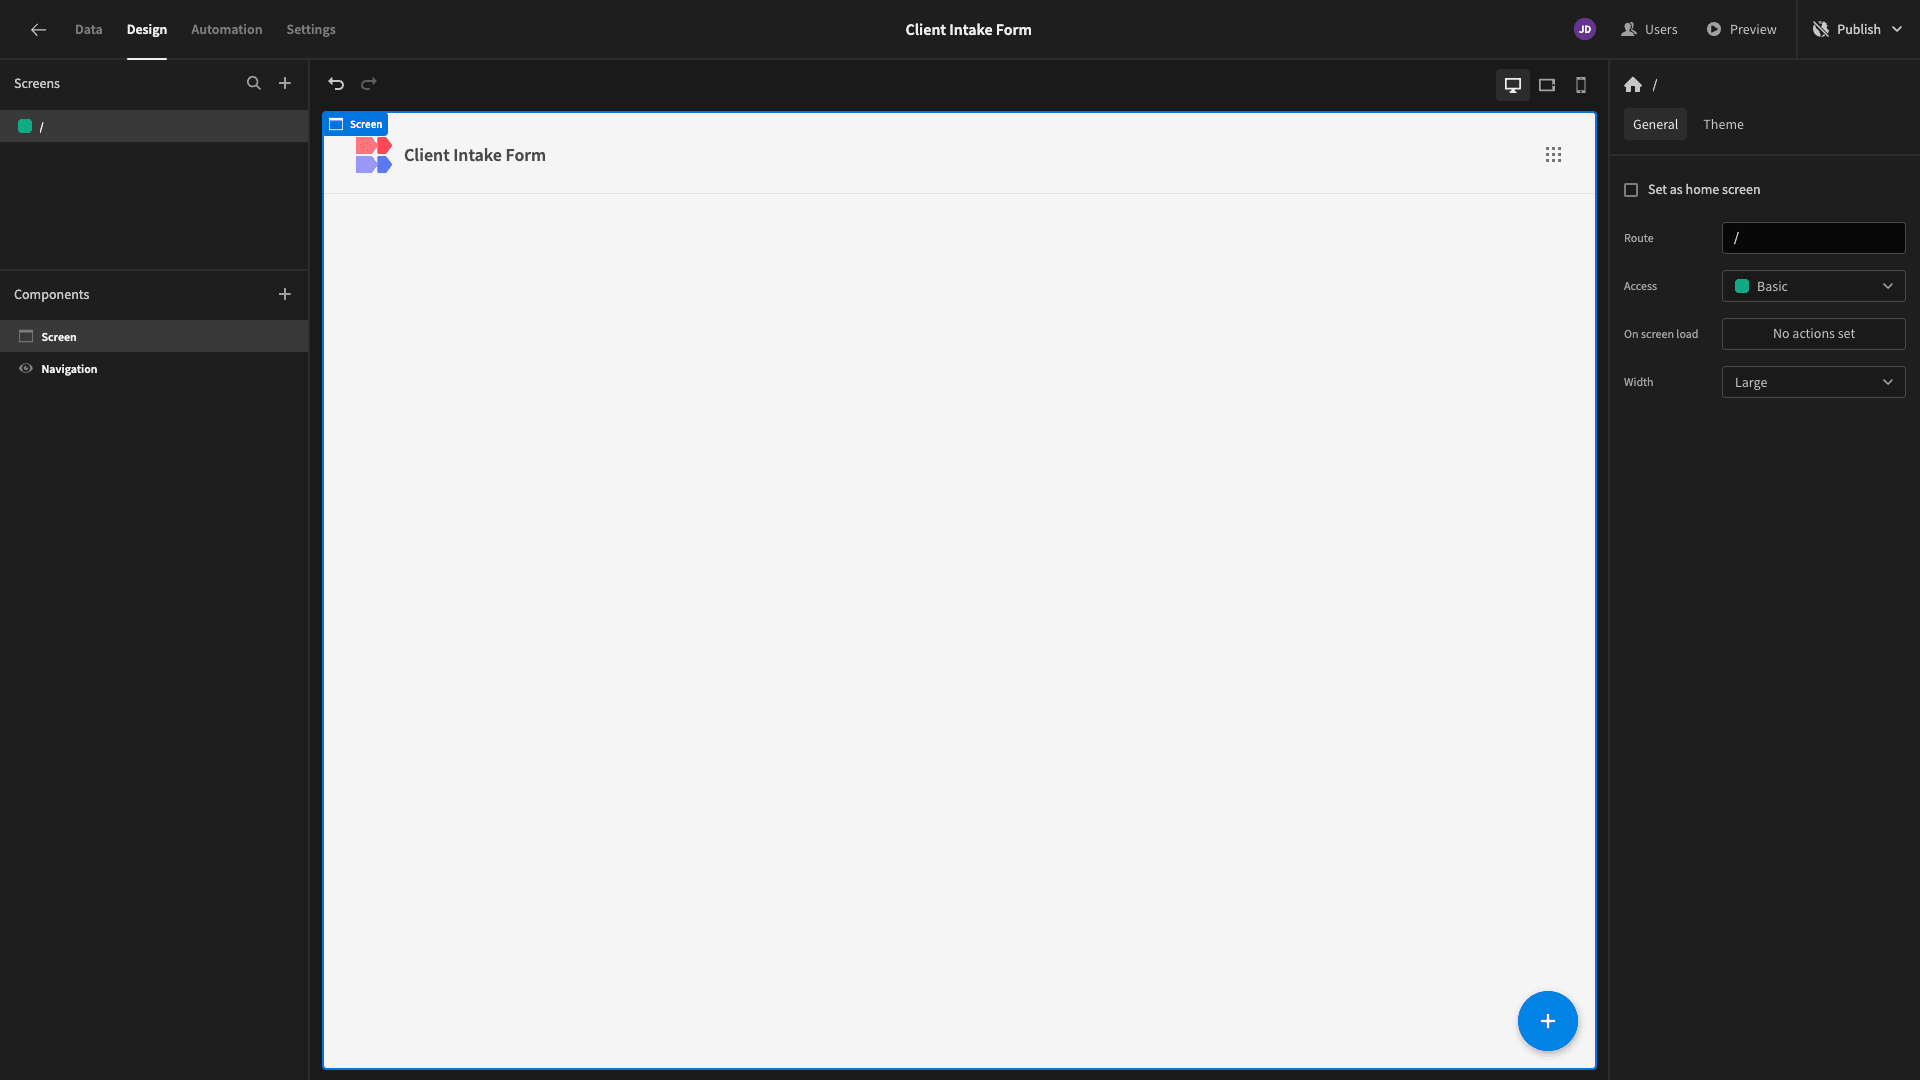
Here’s what our blank screen looks like:
We’re going to build our client intake form by adding a component called a Multi-Step Form Block.
This is a preconfigured set of UI elements that outputs a working form based on the schema of whichever data table we point it at.
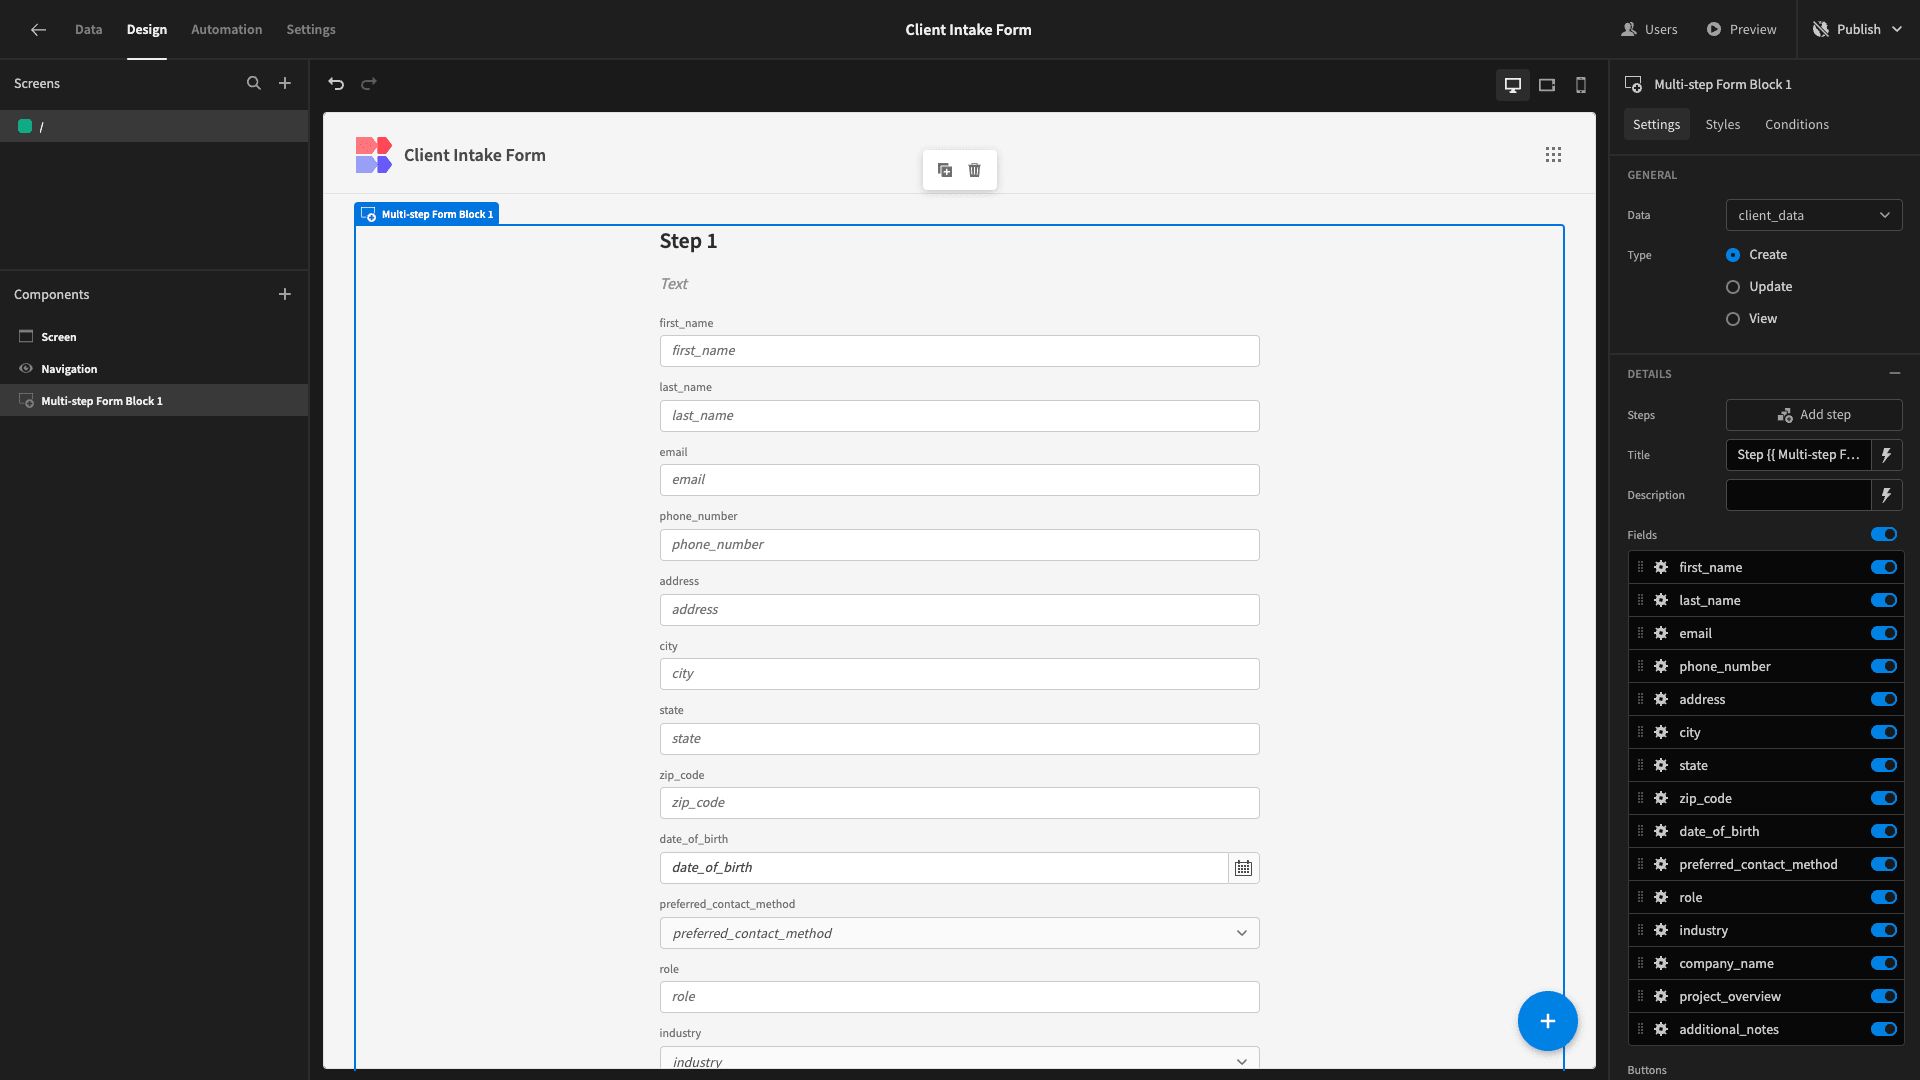
All we need to do is configure how our various fields will appear across different form steps.
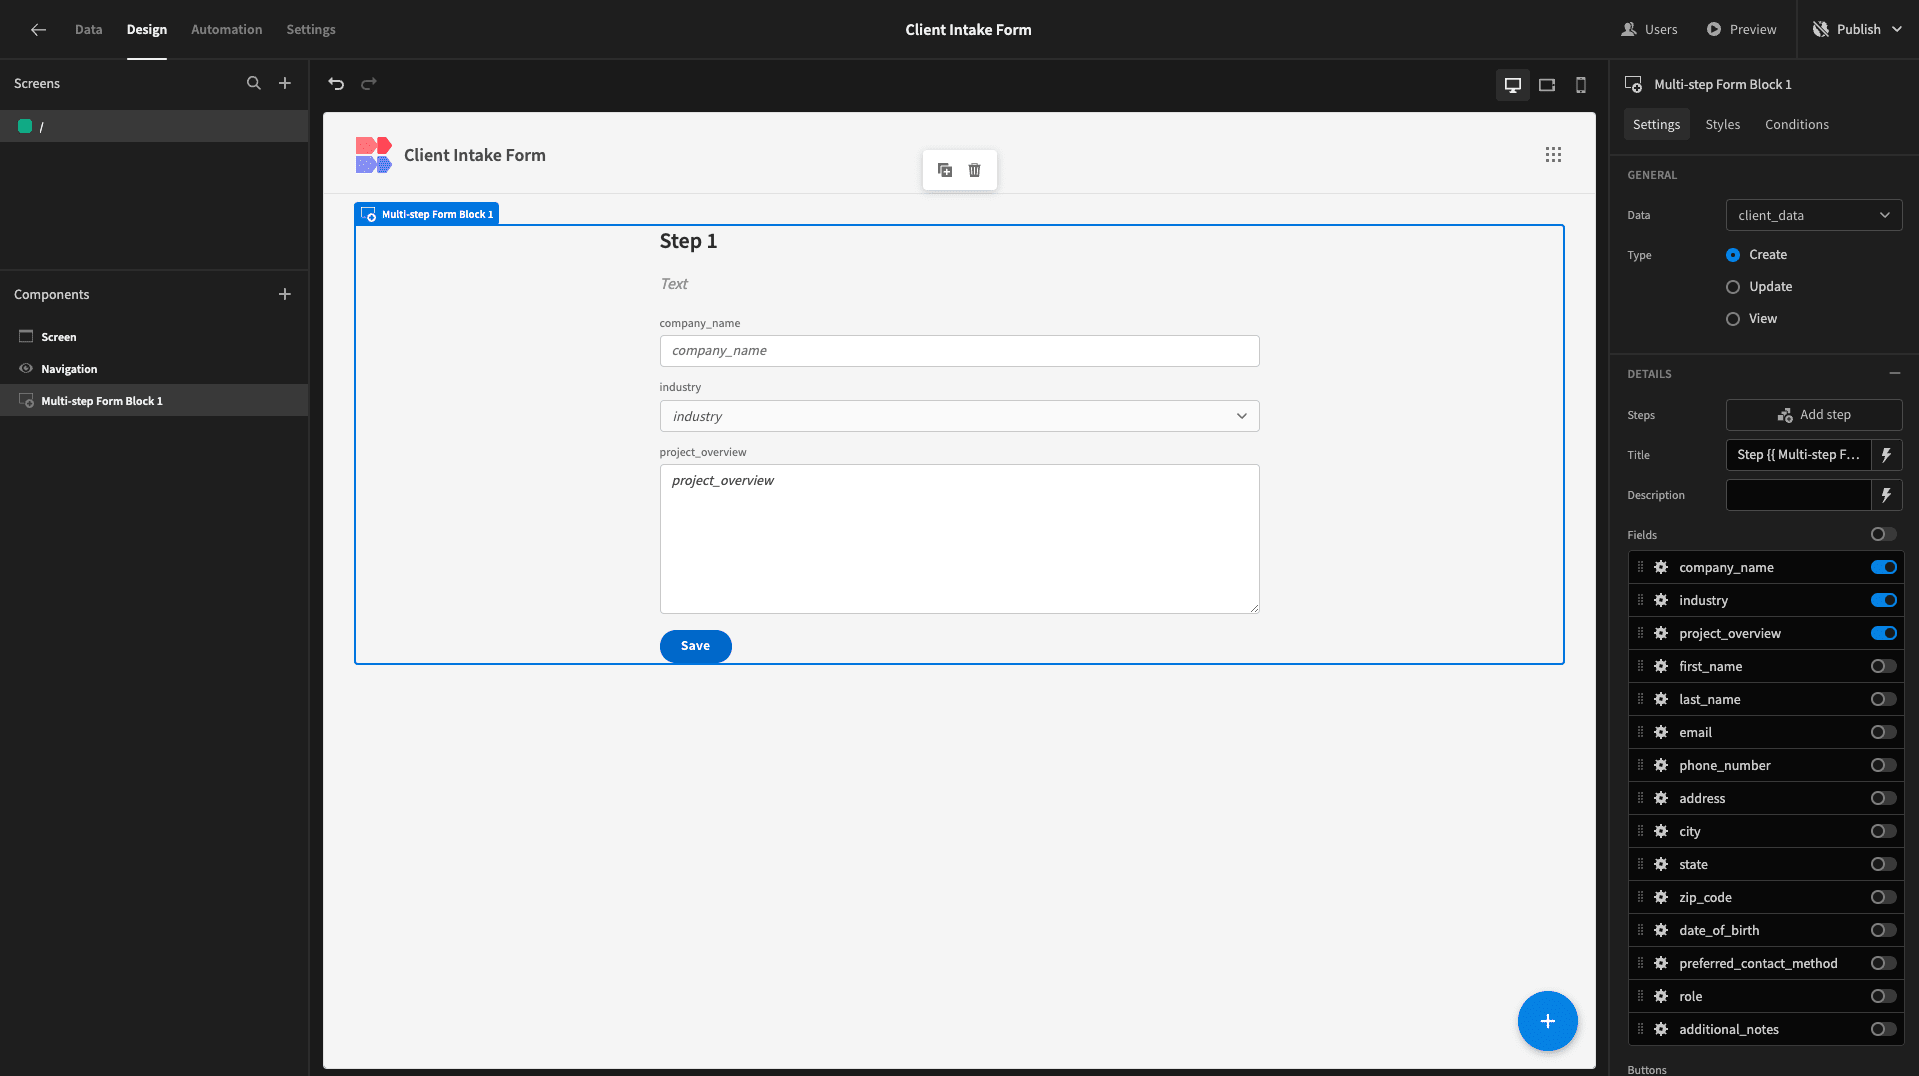
By default, all of our fields will be displayed on a single step. So, we’ll begin by choosing the ones we want to present first.
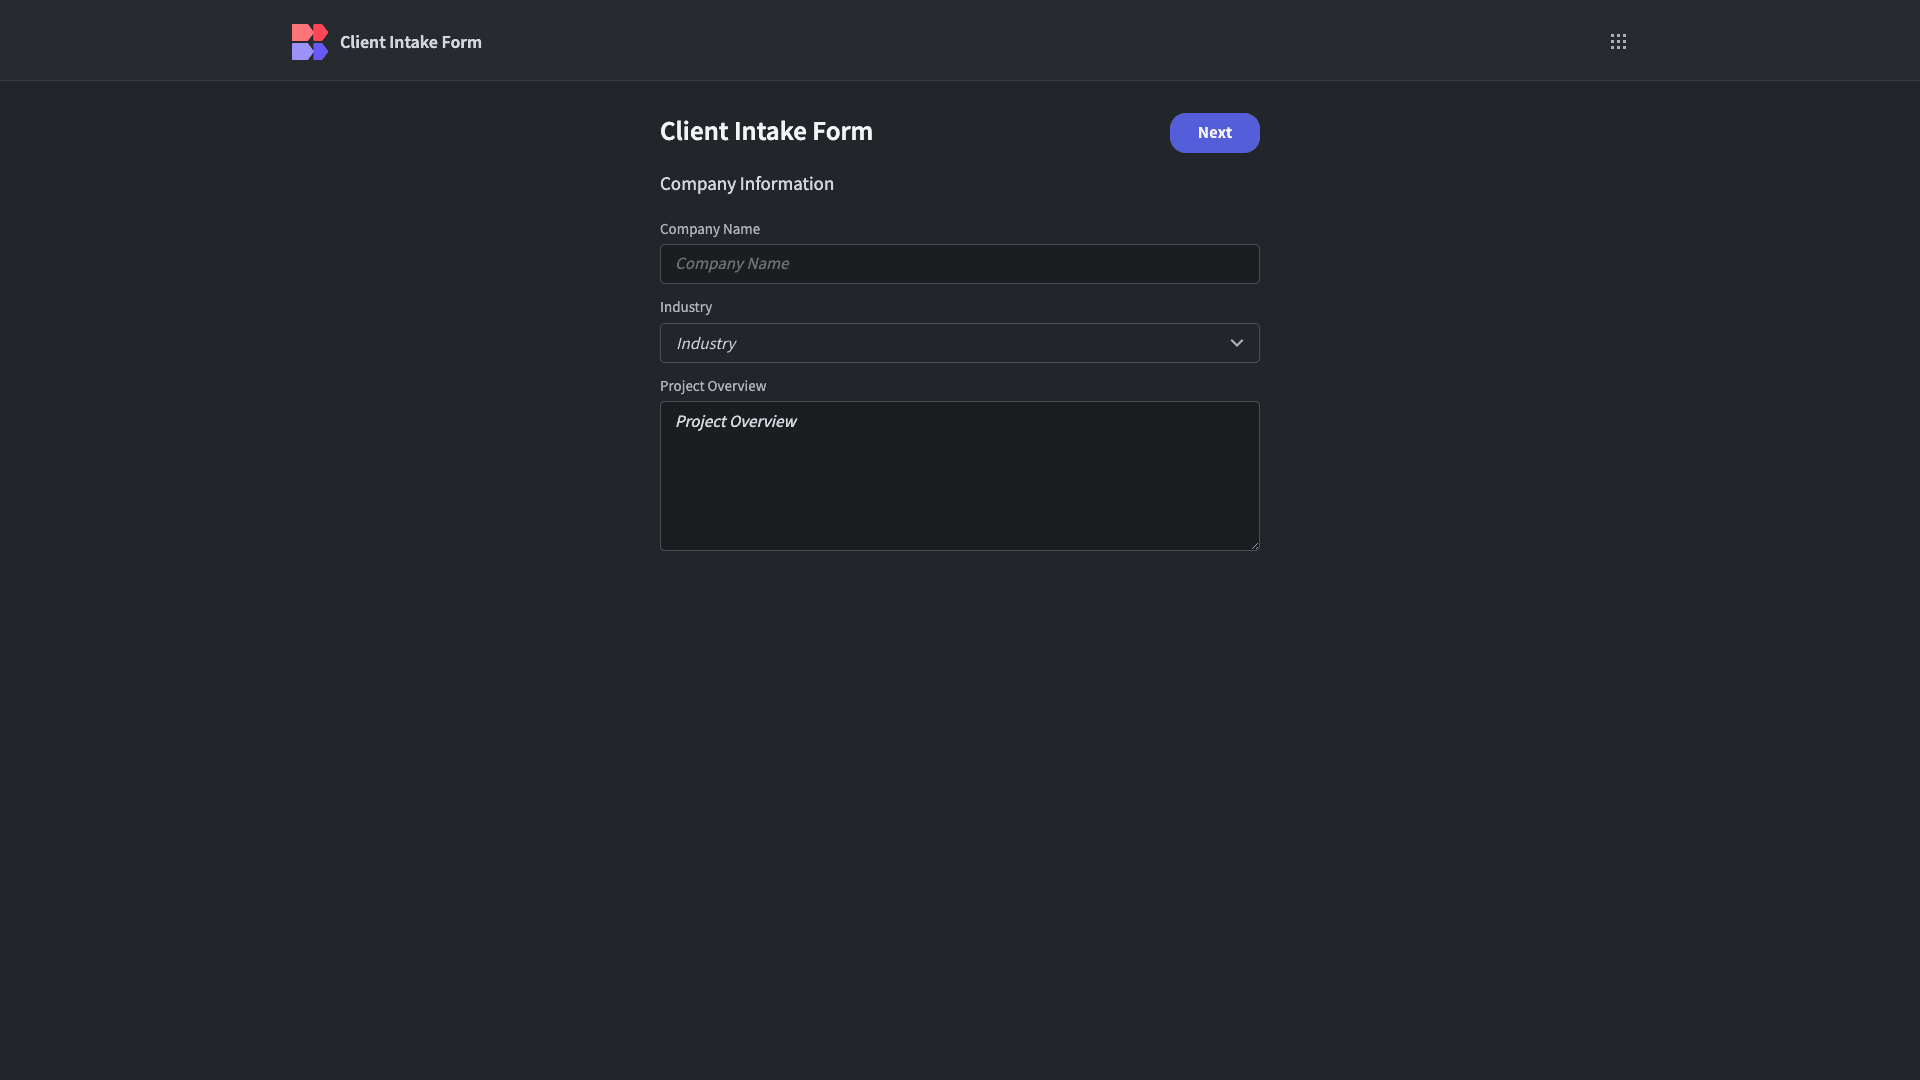
It makes sense to start with the basic company information, so we’re deselecting everything except for the company_name, industry, and project_overview attributes:
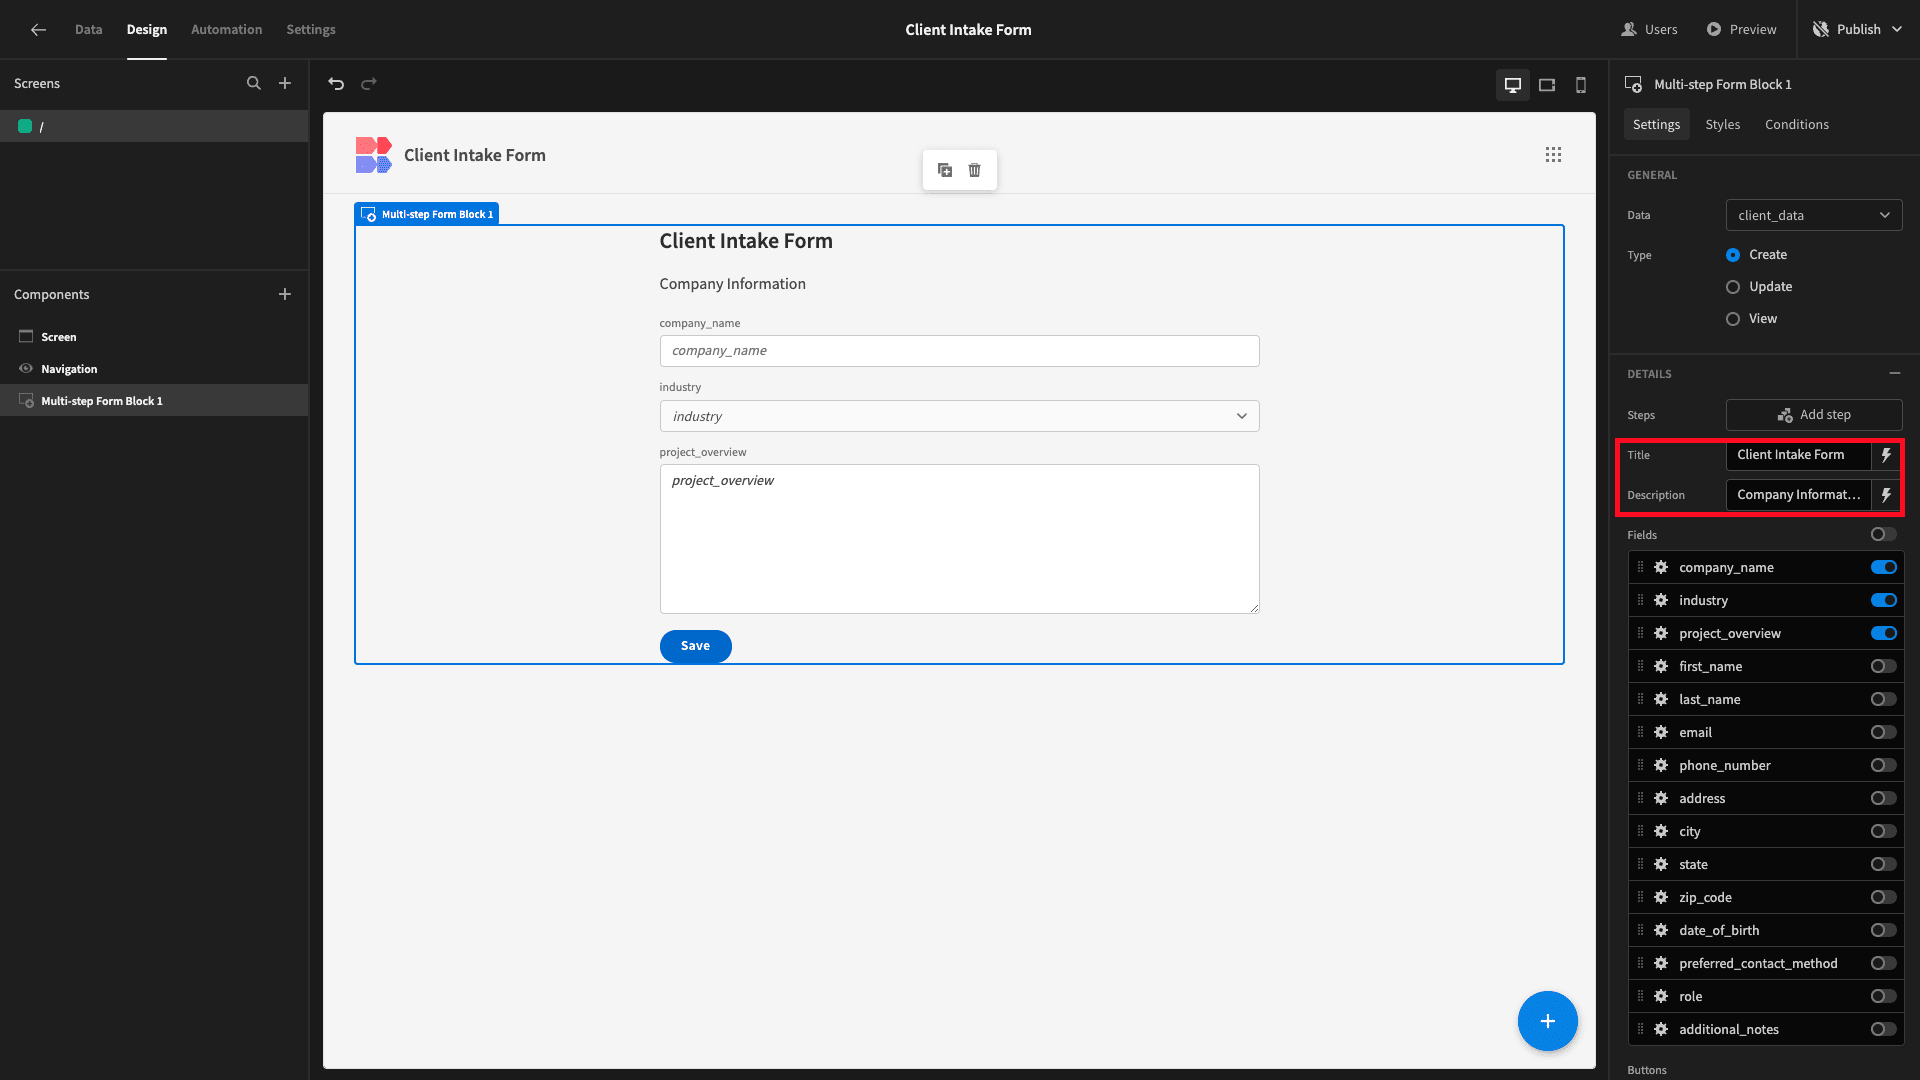
Before we move on, we’ll also update our Title and Description with some more descriptive display text.
When we’re satisfied we can hit Add Step:
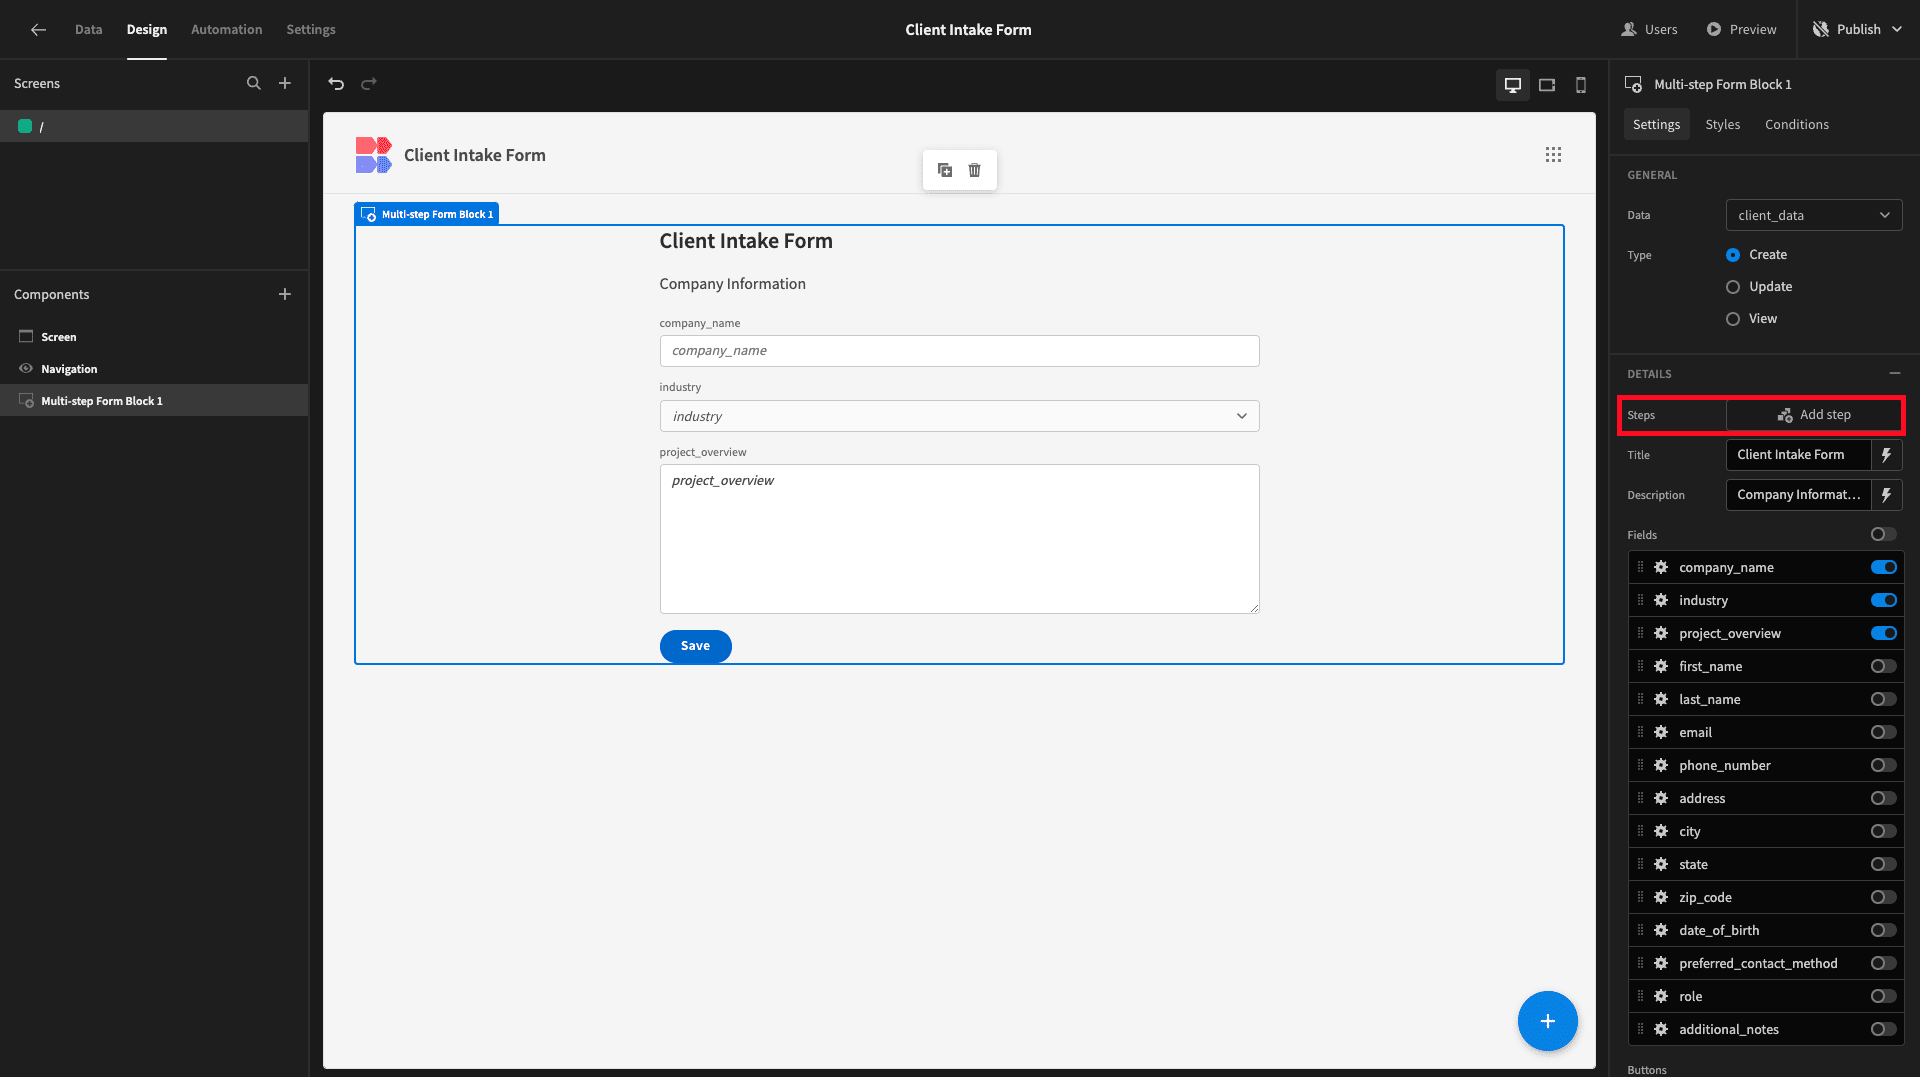
We’ll use our second step for gathering our primary contact’s details. The fields we’ll select are first_name, last_name, role, email, phone_numberl, and preferred_contact_method. We’ll also update our display texts again.
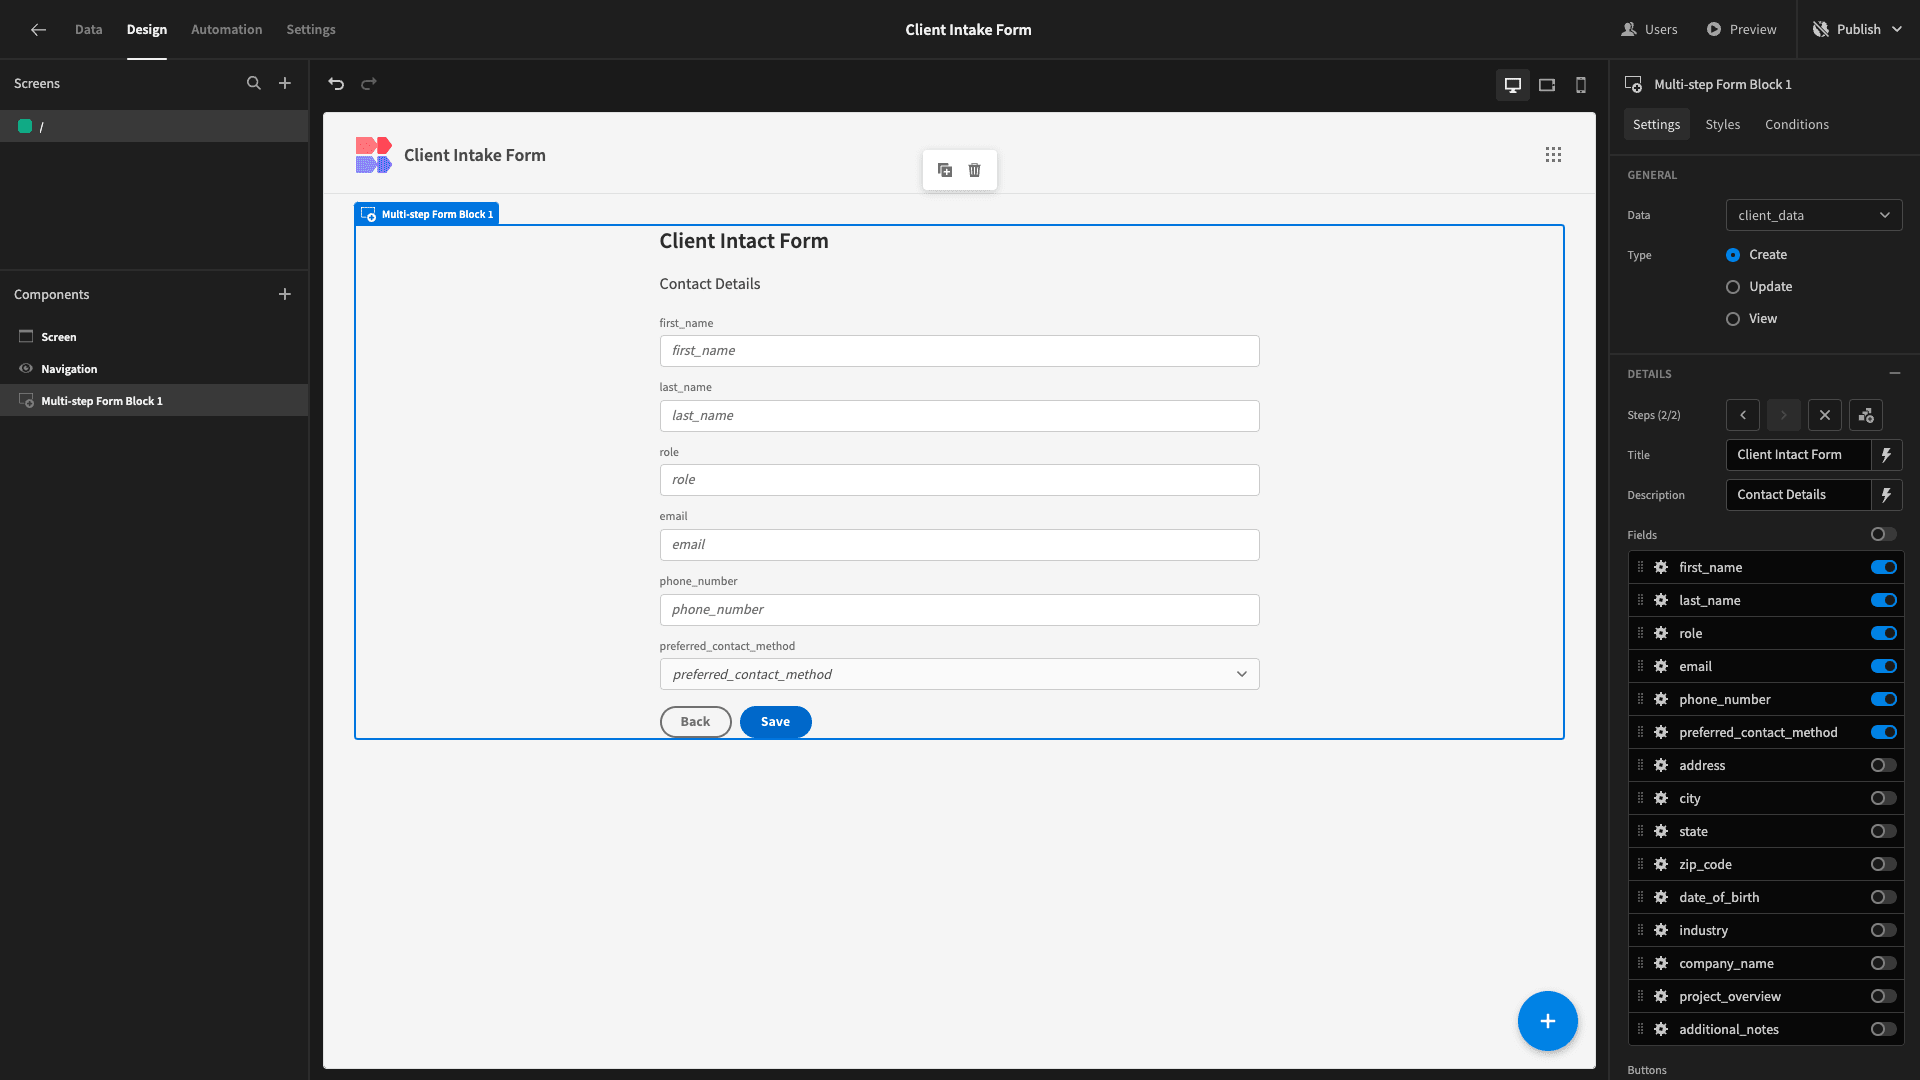
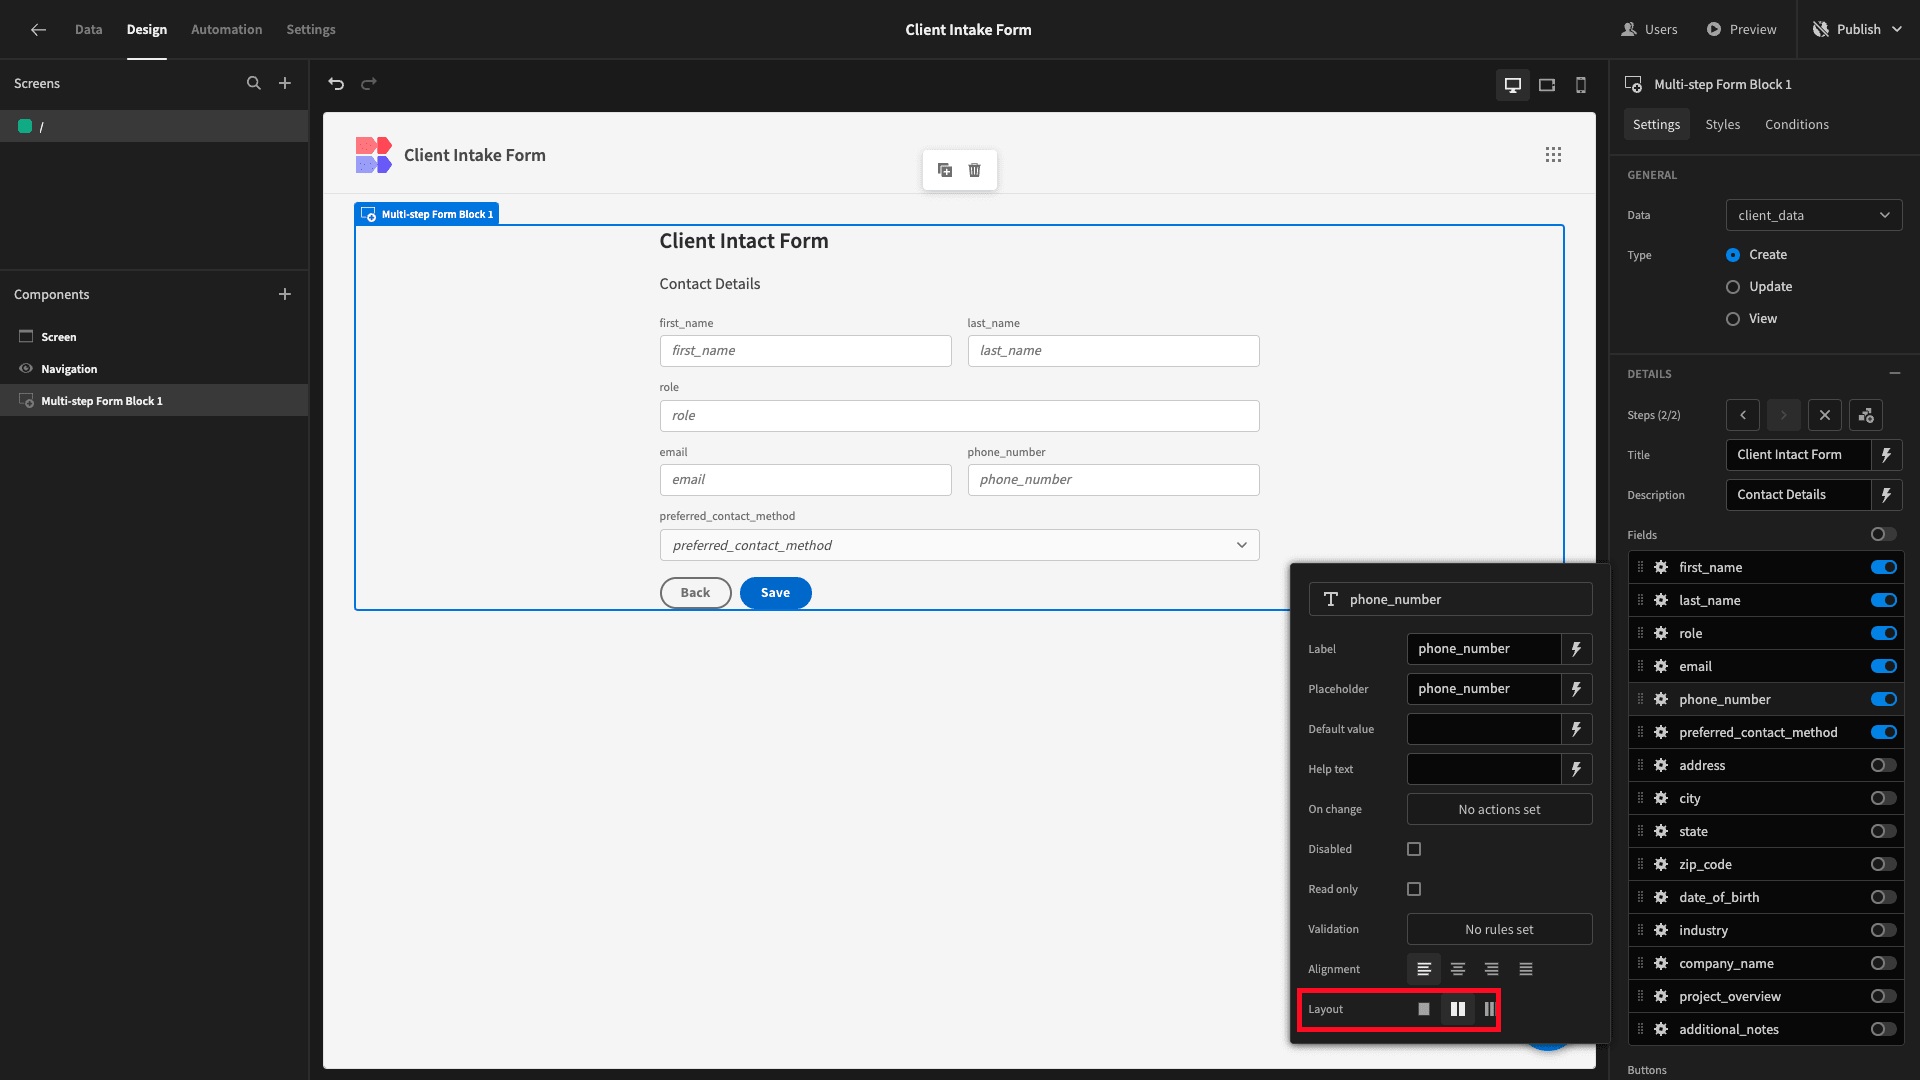
However, these kinds of fields probably don’t need as much horizontal space as we’re currently dedicating to them. So, we’ll use the layout setting to arrange some of these into columns:
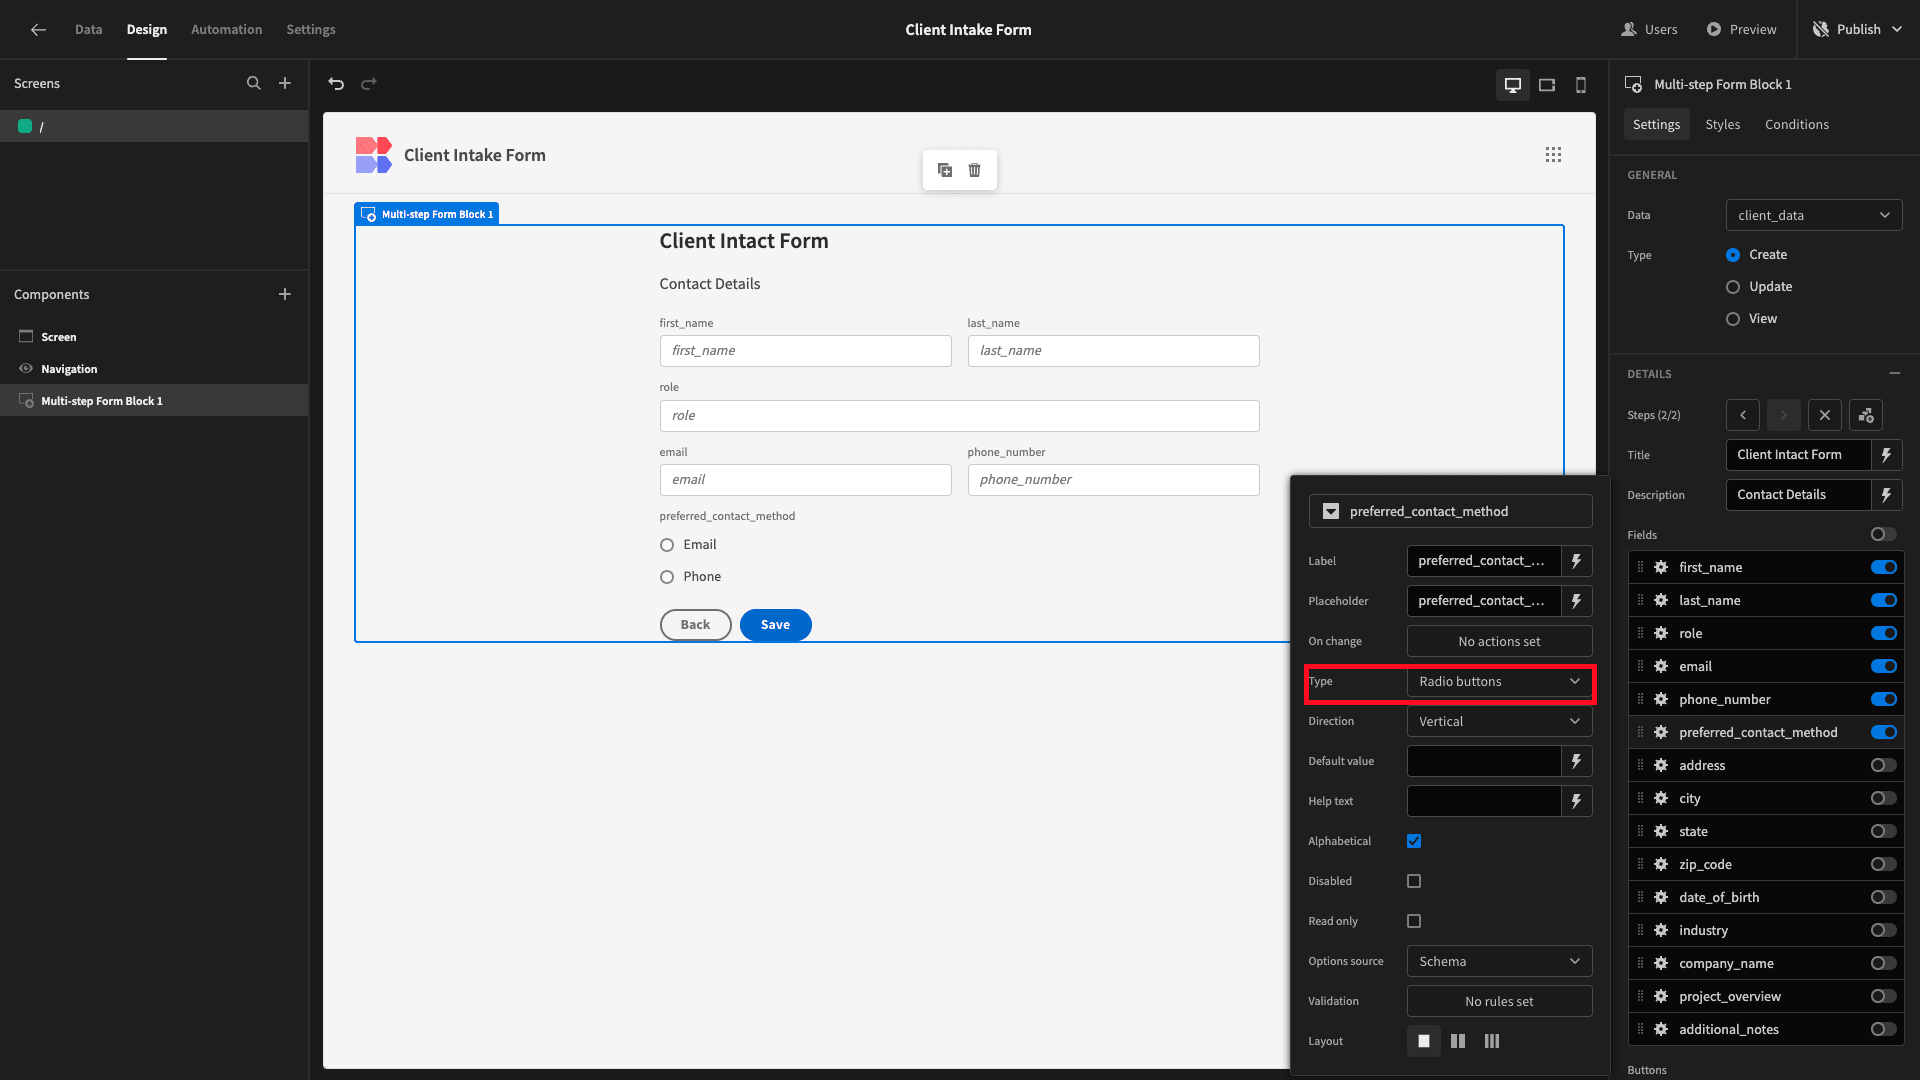
We’ll also set our preferred_contact_method field to Radio Buttons rather than a dropdown selector.
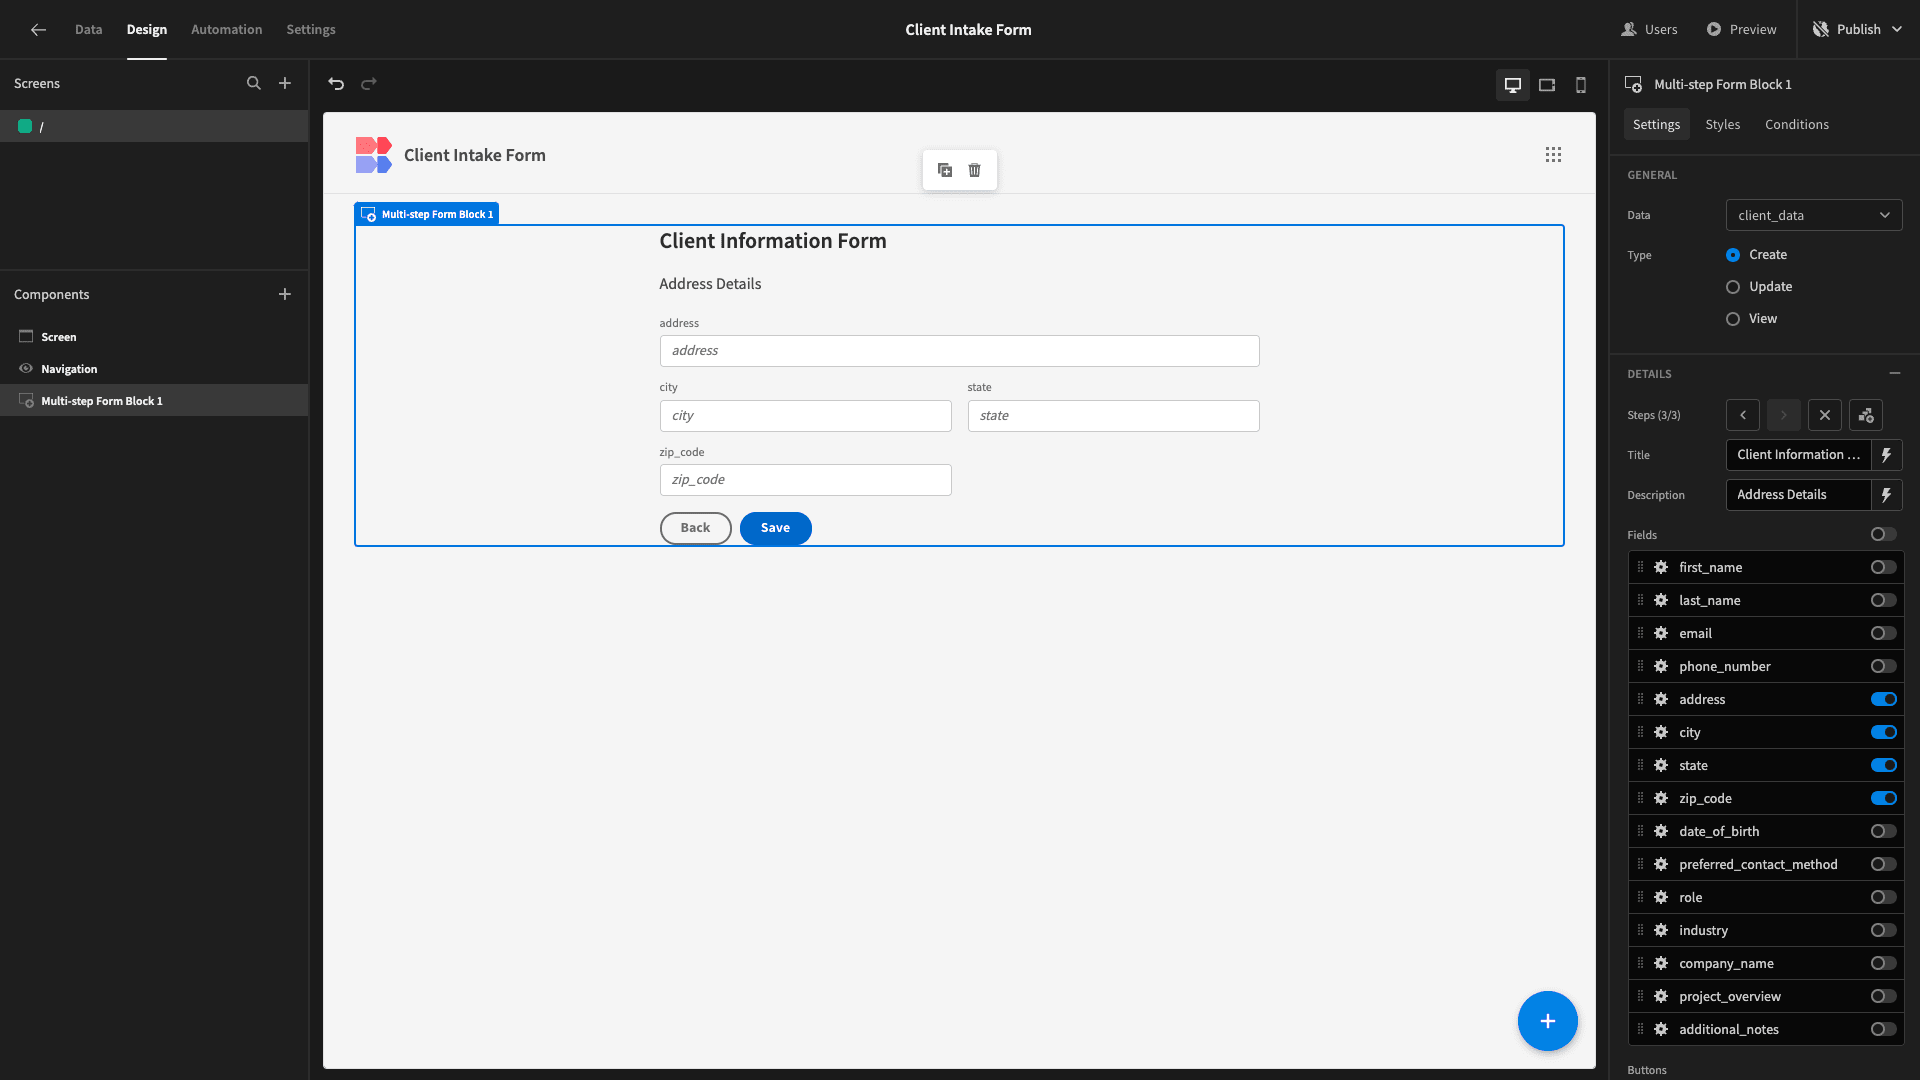
We’ll add another step, this time for all of the fields relating to our new client’s address:
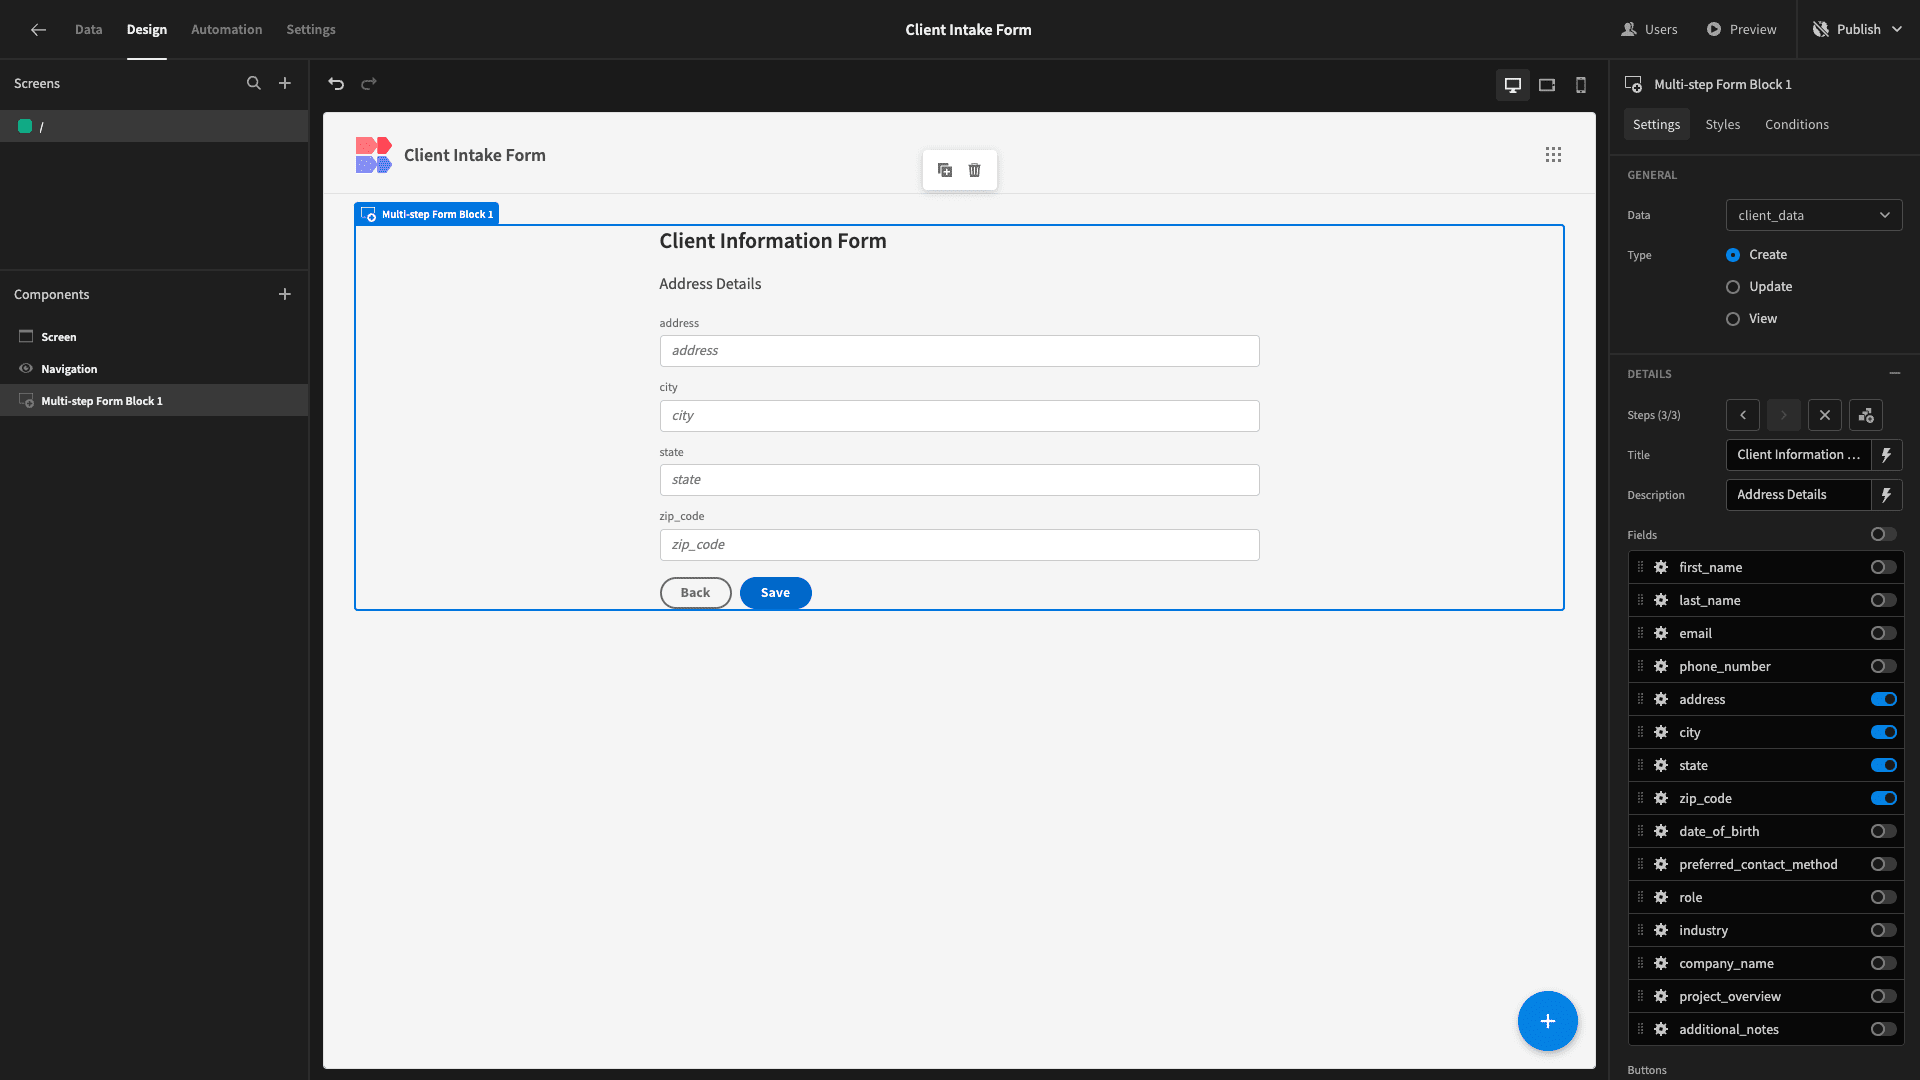
And again, we can place some of these into columns - just to make slightly better use of the space available to us.
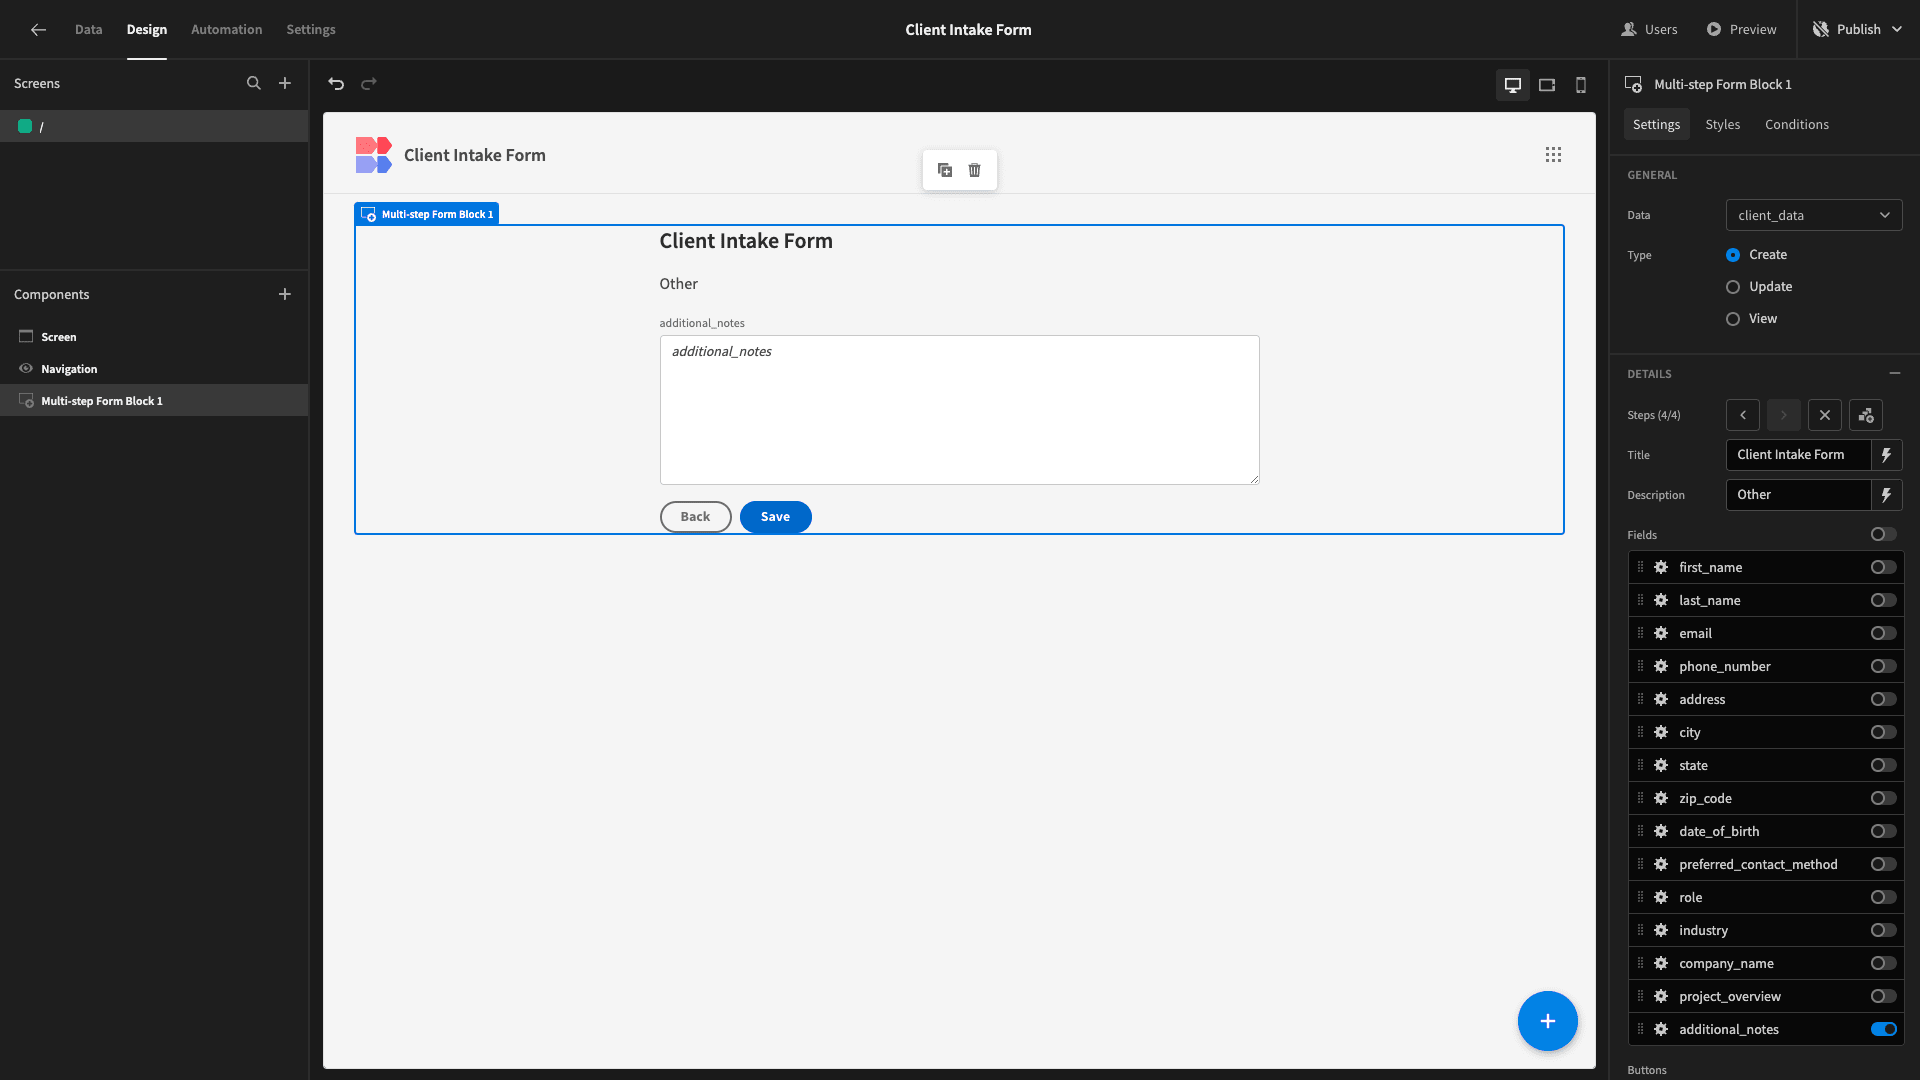
And our final form step will only contain our additional_notes attribute.
3. Form UX improvements
Let’s hit Preview to check out how our form looks in situ.
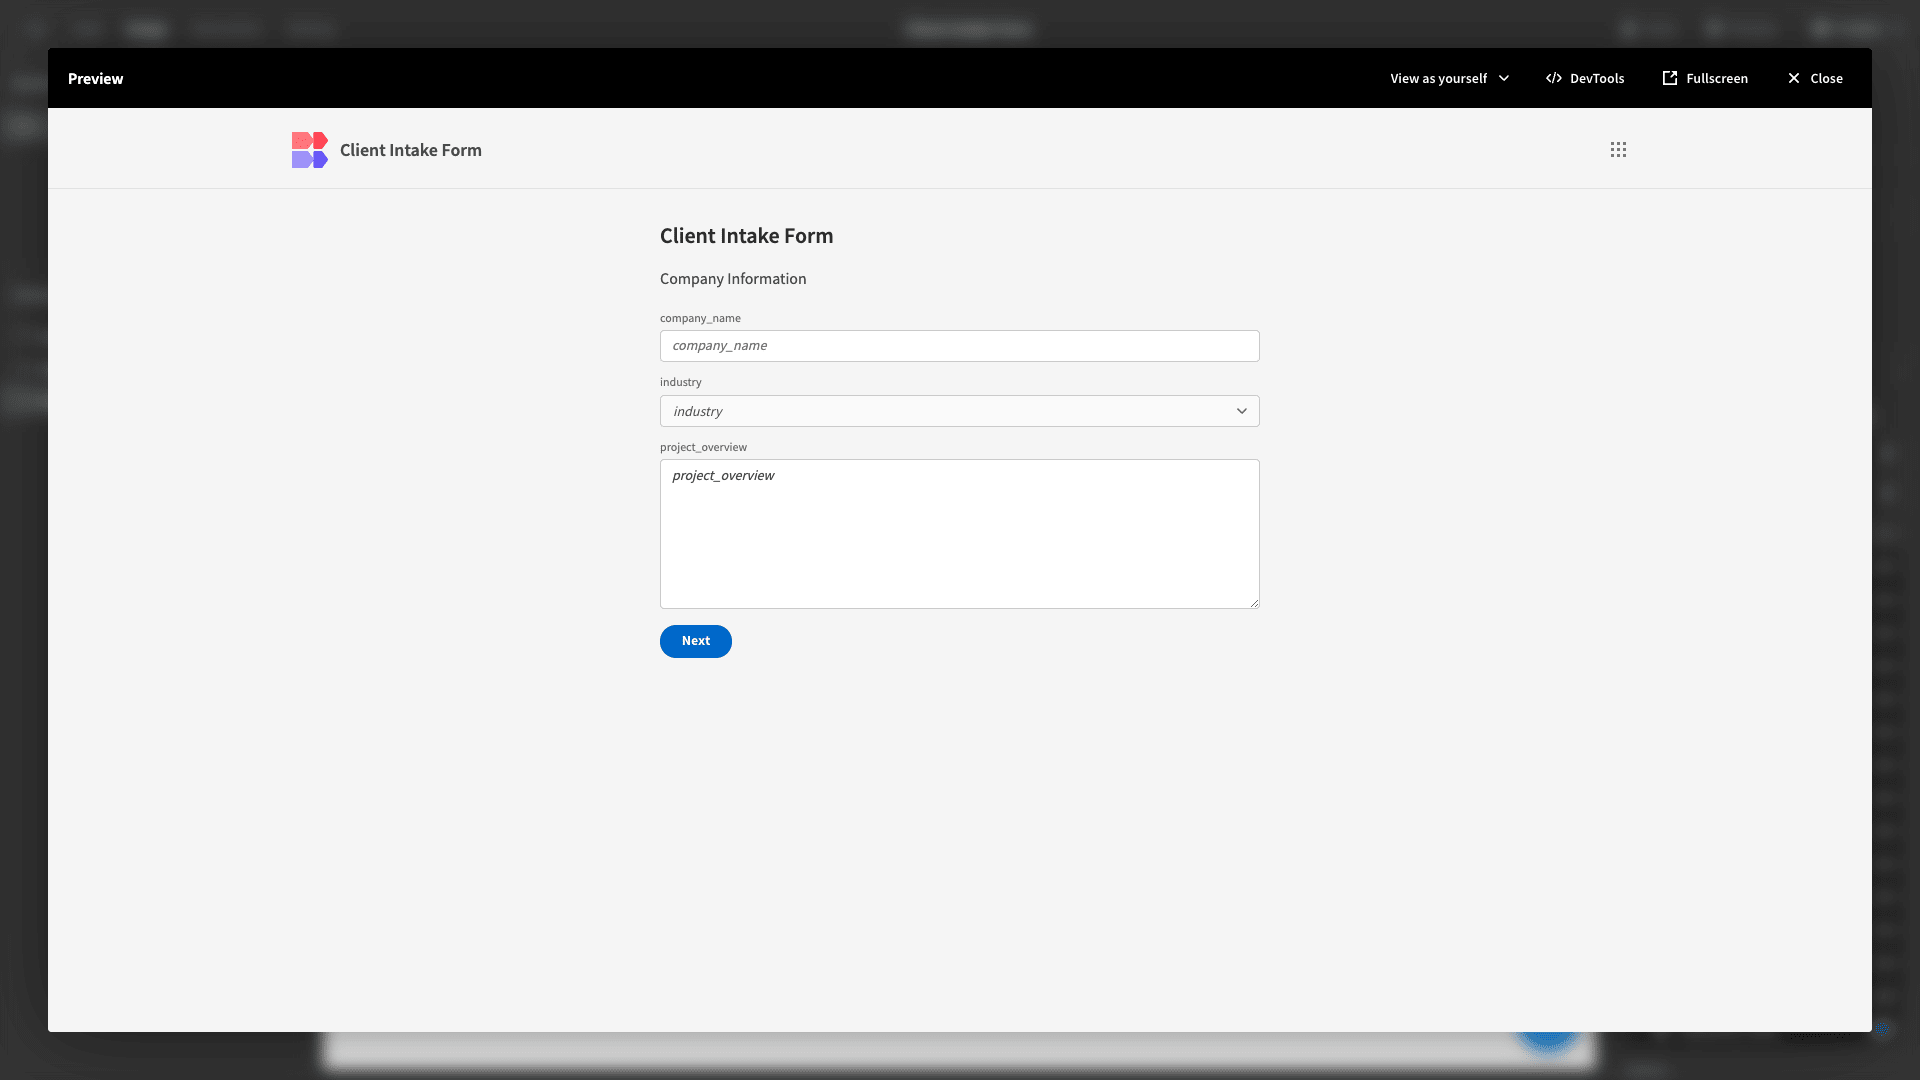
This is perfectly functional, but there are a few minor adjustments we’d like to make to improve the UX of our form.
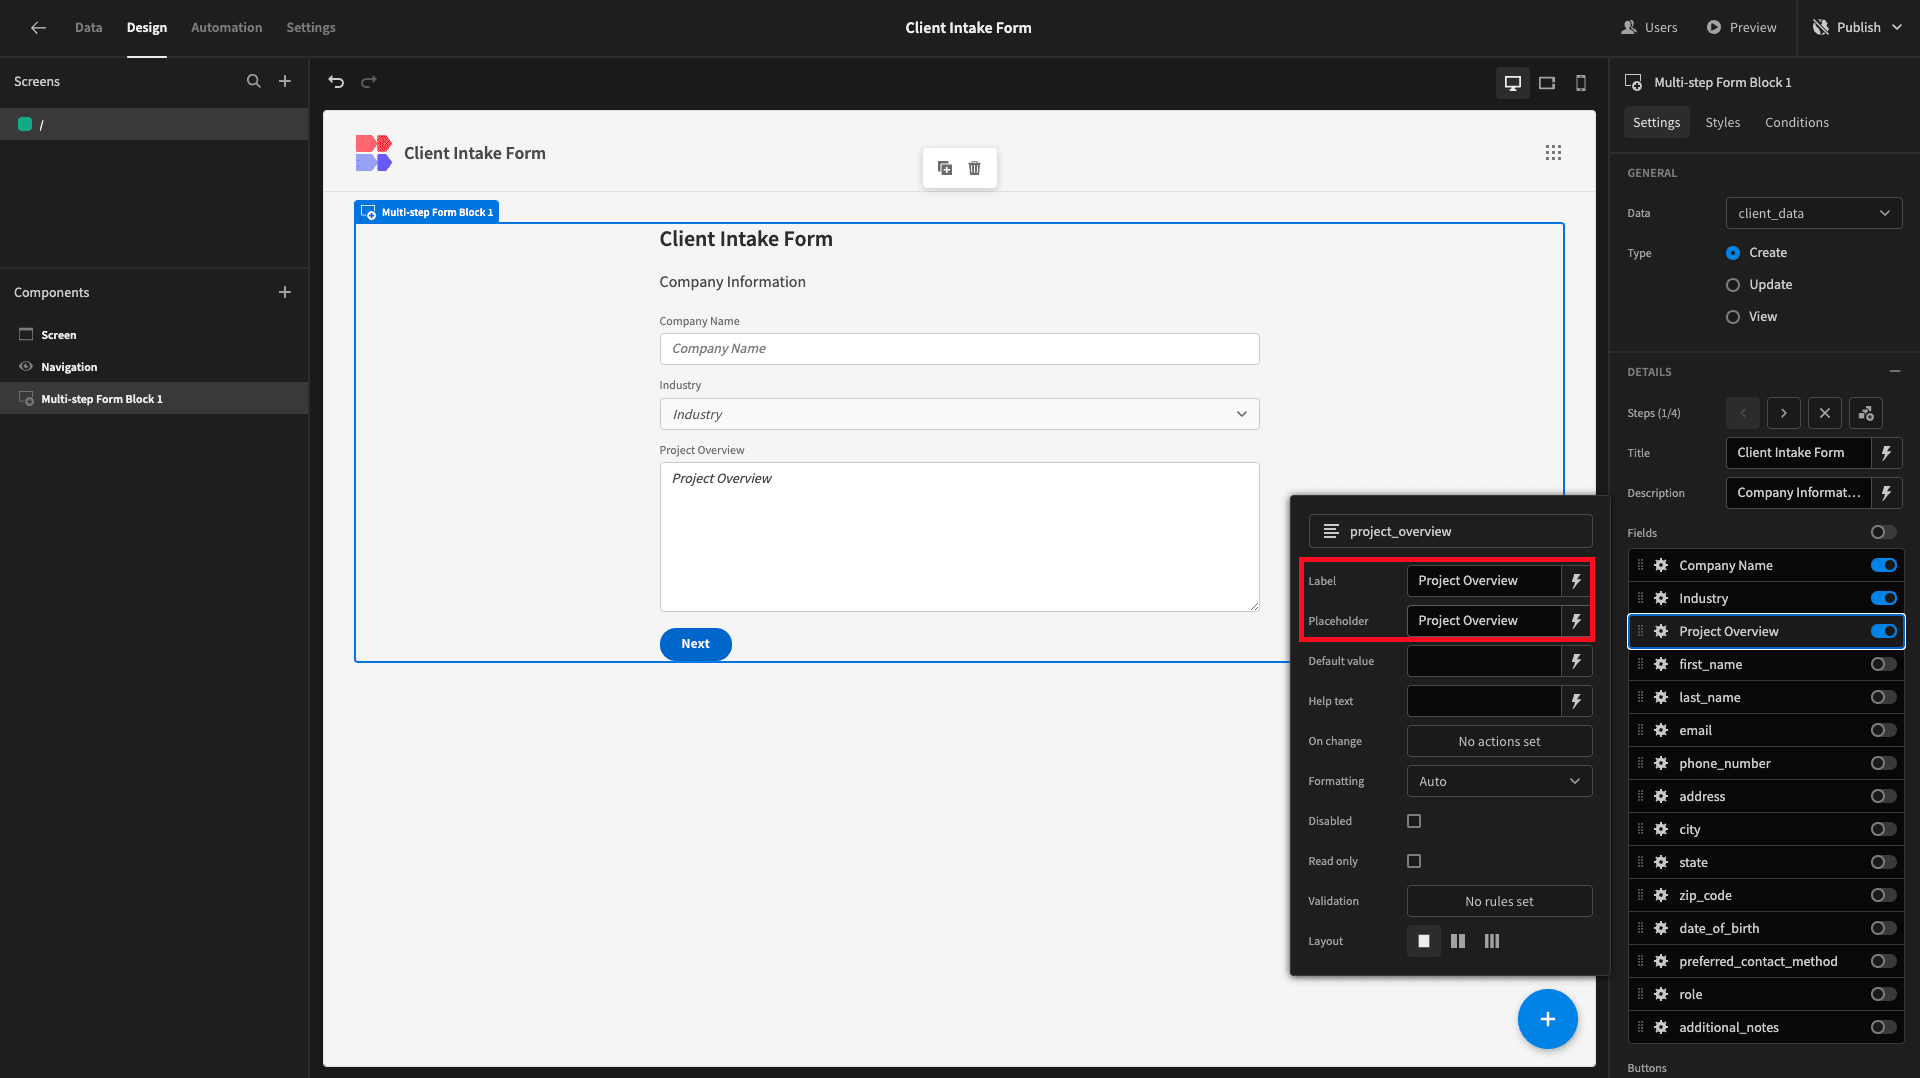
Currently, the text that’s displayed for each of our form fields is just the name of the attribute as it’s stored in our database.
We’ll replace each of these with more human-readable text, using the Label and Placeholder options under each field.
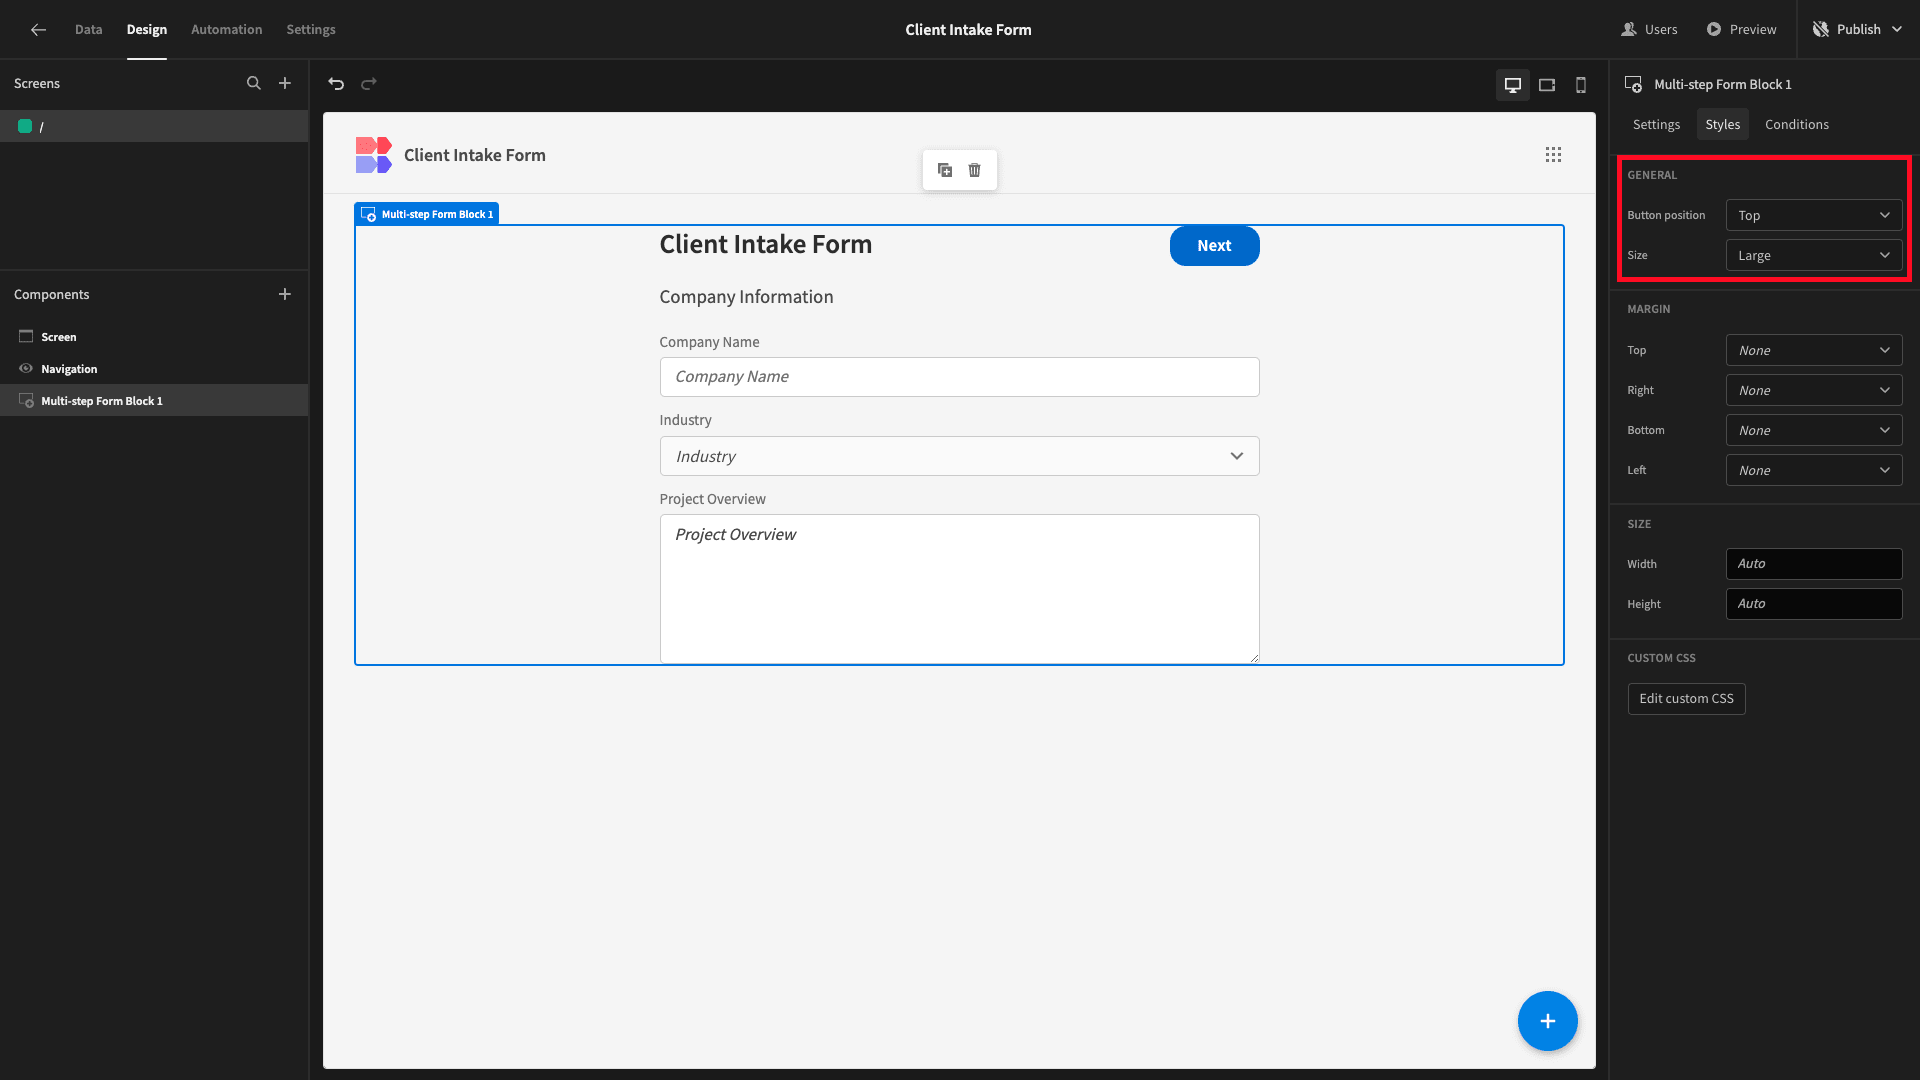
Next, under Styles we’re going to update the Size option to Large and the Button Position to Top.
4. Design tweaks and publishing
Before we push our app live so we can send it to users, there are a couple of extra design tweaks that we can make.
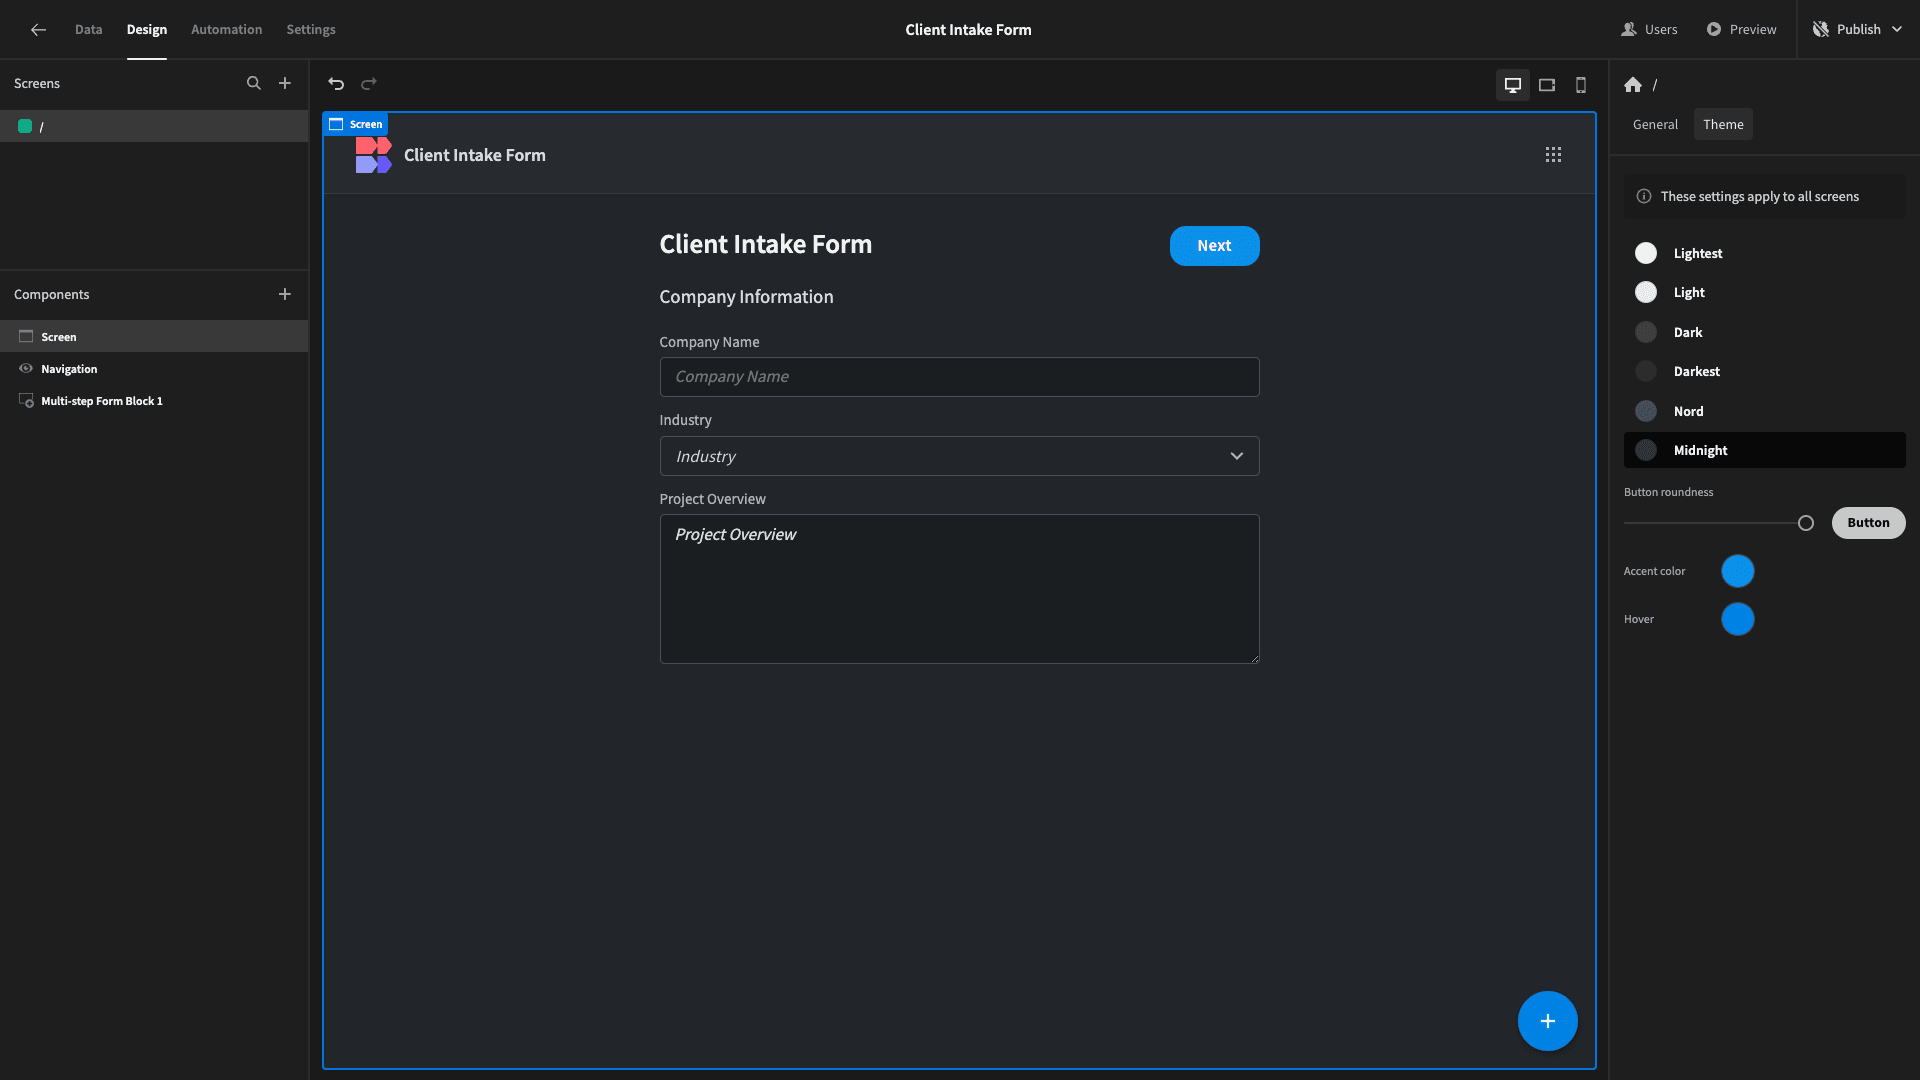
We’ll head to the Theme tab under Screen. Here we have a choice of color schemes we can apply to our application.
Today, we’re going to go with Midnight:
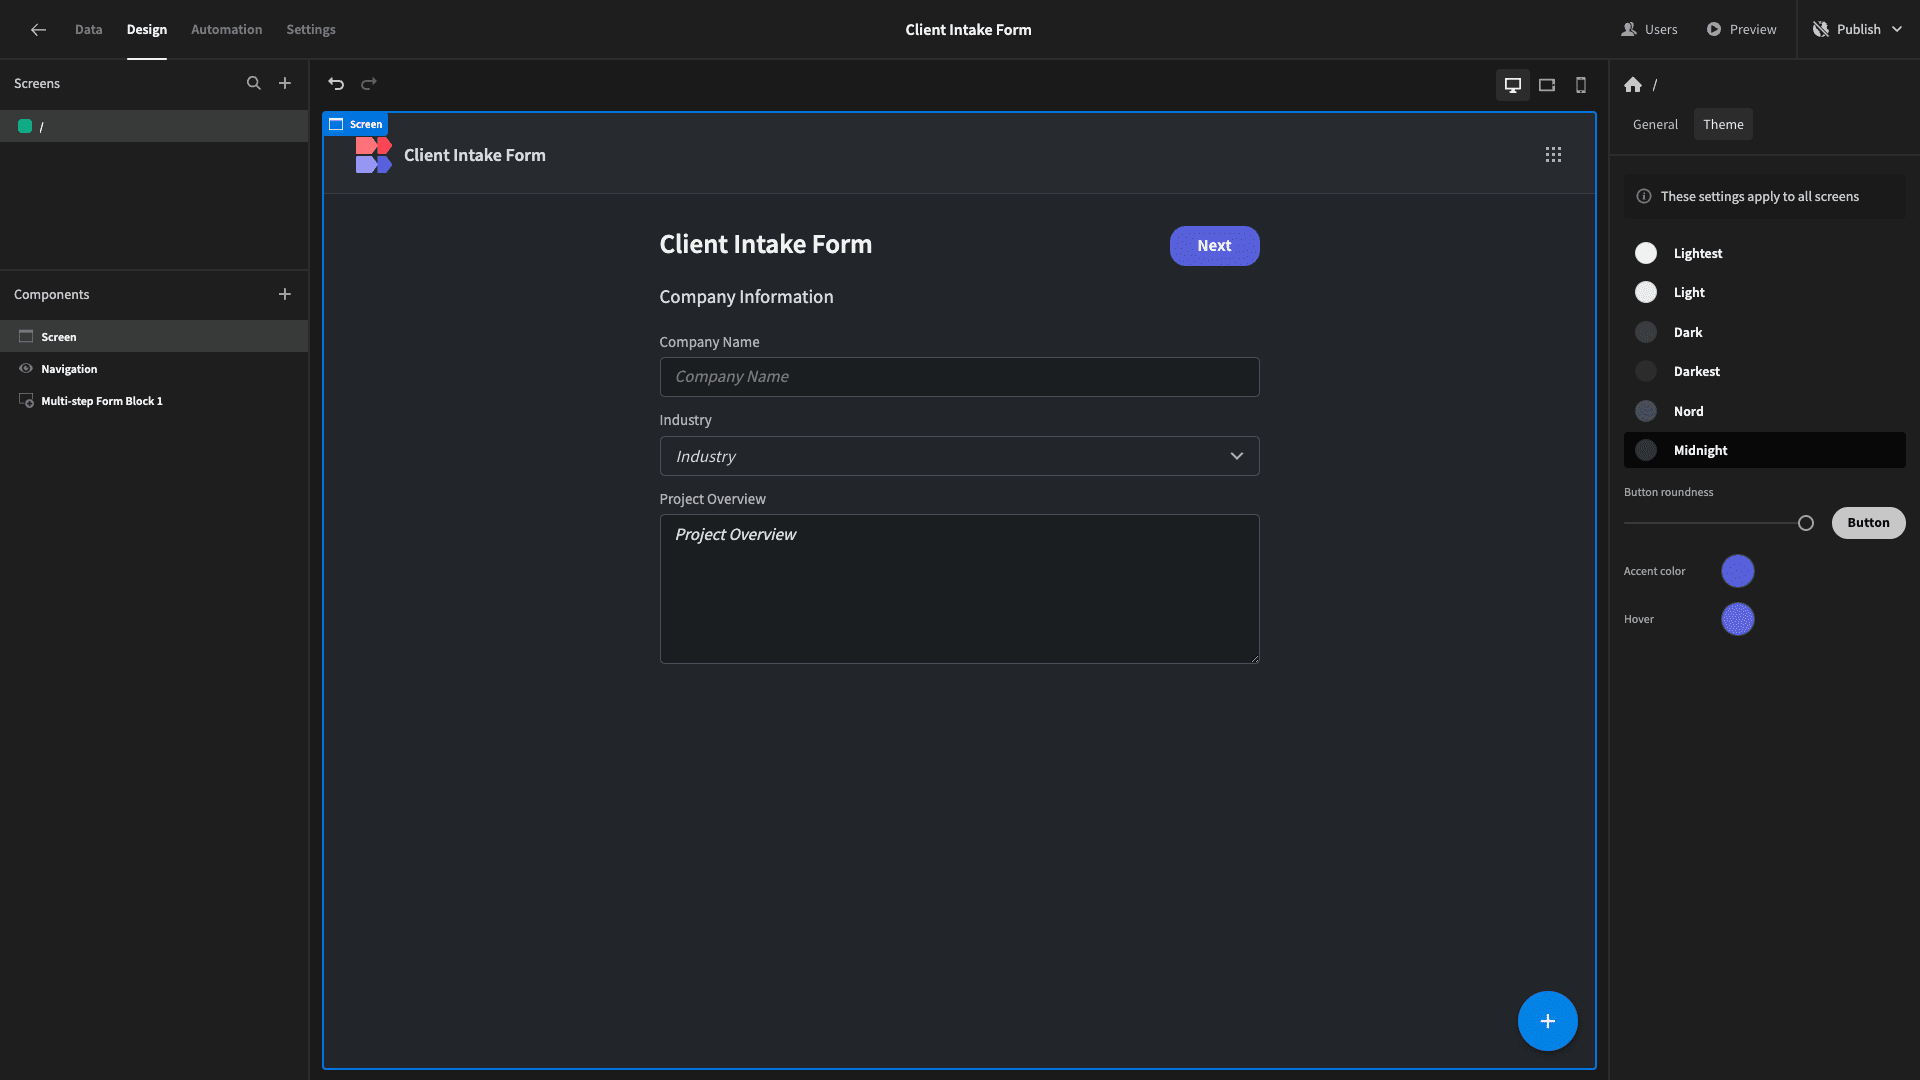
We’ll also change the default button colors to suit this a little better.
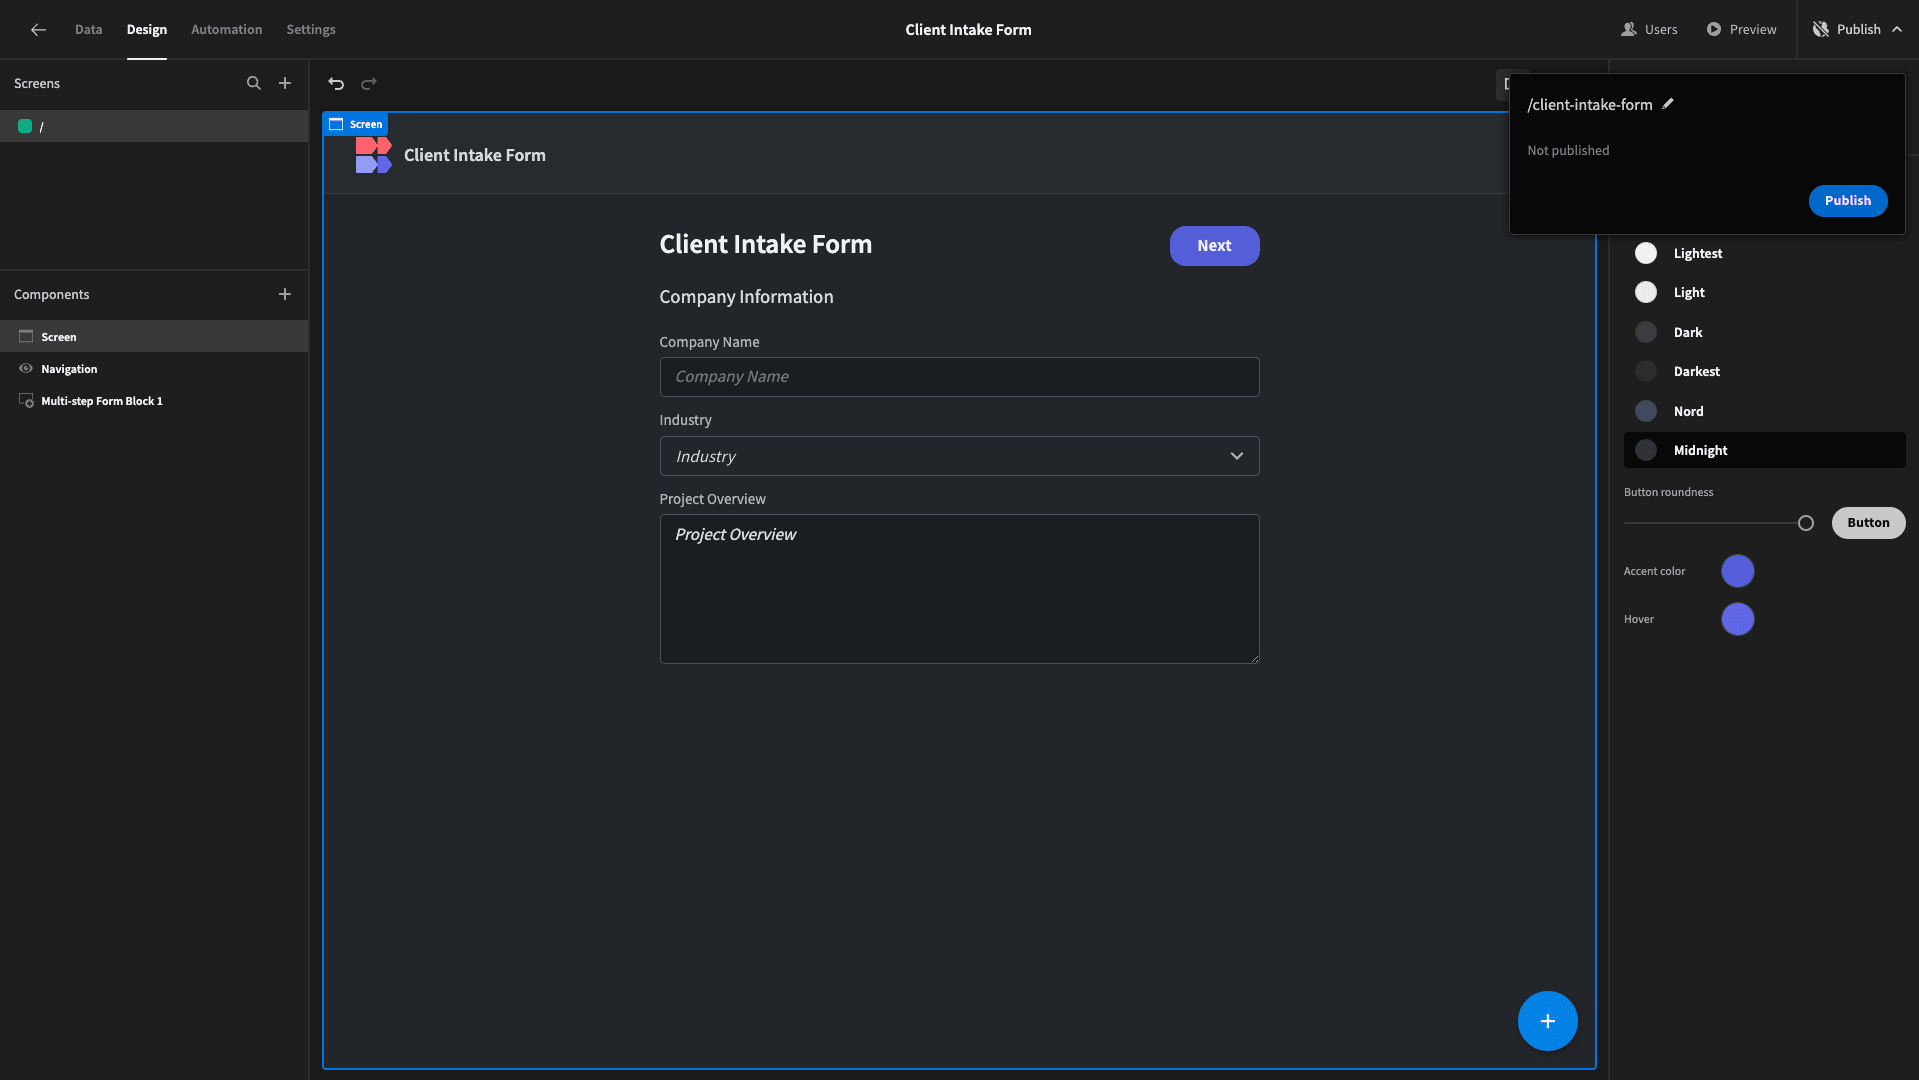
When we’re happy, we can hit Publish, pushing our app live:
Here’s a reminder of what our completed client intake form looks like.
Check out our digital forms page to learn more about how Budibase empowers teams to build advanced forms on top of existing data.